For New Bedford, Massachusetts homeowners looking to enhance their outdoor spaces, DIY fence installation offers a rewarding project. Before beginning, understanding local regulations and selecting the ideal fence type for your yard is crucial. This guide provides step-by-step tips for a successful installation process, from measuring and planning to digging post holes and attaching railings. By following these instructions, you’ll achieve a sturdy, aesthetically pleasing fence that complements your home’s landscape.
- Understanding New Bedford's Fencing Regulations
- Choosing the Right Fence for Your Yard
- Measuring and Planning Your Fence Layout
- Digging and Installing Post Holes
- Attaching Railings and Panels
- Final Touches and Maintenance Tips
Understanding New Bedford's Fencing Regulations
Before you begin any DIY fence installation project in New Bedford, it’s crucial to familiarize yourself with local zoning laws and building codes regarding property fences. These regulations vary from town to town and can dictate everything from height restrictions to permitted materials. Homeowners in New Bedford should check with the city or town clerk’s office for specific guidelines. Failing to comply could result in costly fines or even the requirement to tear down an installed fence.
Take the time to review plans carefully, ensuring they align with local laws. Many communities require permits for fence installation, so it’s essential to secure any necessary documentation before purchasing materials or beginning construction. Understanding these regulations upfront will save you from potential headaches and ensure your new fence is legally compliant and built to last.
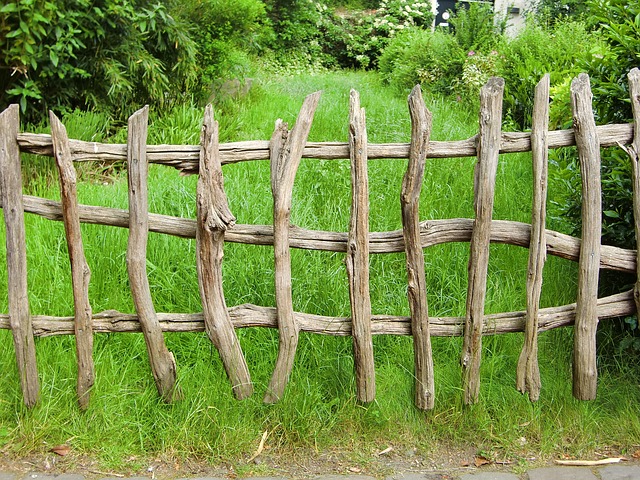
Choosing the Right Fence for Your Yard
When selecting a fence for your New Bedford yard, consider factors like style, material, and functionality. The right fit depends on your personal taste, property layout, and intended purpose. For instance, a charming wooden picket fence aligns beautifully with historic homes, while a sturdy vinyl option offers low-maintenance benefits to busy families.
Your yard’s unique features should guide your decision. If privacy is key, opt for solid fences or those with dense pickets. For a modern aesthetic, explore geometric designs like a horizontal slat fence. Remember, the right fence not only complements your home but also enhances curb appeal and provides the functionality you need for years to come.
Measuring and Planning Your Fence Layout
When planning your DIY fence installation in New Bedford, proper measurement and layout are crucial steps. Begin by assessing the area where you want to install the fence. Use a measuring tape to take accurate dimensions, noting any unique features or obstacles like trees, posts, or existing structures that might affect your layout. This information will guide your material selection and ensure the fence aligns with local regulations.
Create a detailed plan by sketching out your desired fence layout on paper. Consider factors like privacy levels needed, aesthetic preferences, and functionality. Decide on the fence’s height, style (chain link, wood, or vinyl), and whether it will enclose a specific area or simply serve as a border. A well-thought-out plan will make installation smoother and help you stay within budget.
Digging and Installing Post Holes
When installing a fence, one of the most crucial steps is digging and preparing post holes. Start by marking the locations where each fence post will be placed along your desired fence line. Use a string or rope to ensure straight and consistent spacing. Digging the holes should be done carefully to accommodate the depth and width requirements for the type of fence posts you’re using, typically 3/4 of the post’s height underground. The holes must also be wide enough, usually about 8-10 inches in diameter, to allow for proper footing and stability.
Use a post-hole digger or an excavator to create these openings. Make sure the ground is stable and solid before inserting any posts. Backfilling with concrete is essential once the posts are set; this step strengthens the fence’s foundation. Allow enough time for the concrete to cure completely before continuing with the rest of the installation process to ensure long-lasting durability.
Attaching Railings and Panels
When attaching railings and panels to your fence, ensure a secure fit for safety and longevity. Start by measuring and marking the locations where the rails will be attached to the posts using a level to guarantee a straight line. Drill pilot holes to prevent the wood from splitting, then securely fasten the rails in place with screws or nails, ensuring they align with the top of each post. For panels, measure and cut them to fit between the rails, leaving a small gap for weatherproofing. Use brackets to secure the panels to the rails, creating a sturdy barrier.
Final Touches and Maintenance Tips
After completing the fence installation, take some time to inspect your new fence for any loose components or imperfections. Ensure all posts are securely in place and level, and that all hardware is tight. Add the final touches, such as gate hinges and handles, and check that they function smoothly. Regular maintenance is key to keeping your fence looking its best. This includes cleaning the fence regularly with a pressure washer or soft brush to remove dirt and debris. Inspect for any signs of damage, rot, or warping, especially in wooden fences, and address these issues promptly using appropriate repair techniques. Keep an eye out for loose or missing pickets and replace them as needed to maintain the fence’s structural integrity.