Looking to enhance your New Bedford, Massachusetts property with a DIY fence installation? This guide offers invaluable tips for successful projects. From planning your layout to choosing materials suited for the local climate, we cover every step. Learn the art of measuring and marking your property line accurately, digging post holes for sturdy support, and assembling rails and panels efficiently. Master these techniques, and you’ll have a beautiful, durable fence that complements your home.
- Planning Your Fence Installation Project
- Choosing the Right Fence Material for New Bedford Climate
- Measuring and Mapping Your Property Line
- Digging and Marking Post Holes Effectively
- Attaching Rails and Panels: Step-by-Step Guide
Planning Your Fence Installation Project
Before tackling your DIY fence installation project in New Bedford, take time to plan and prepare. Start by assessing your property line and ensuring you have the necessary permits from local authorities, as regulations can vary in Massachusetts. Measure the perimeter of the area where you want the fence to be installed, taking note of any gates or entry points that need to be incorporated into the design. Create a rough sketch or use online tools to visualize the layout, choosing between different styles like picket, privacy, or wood panel fences based on your preferences and property requirements.
Consider factors such as proximity to neighbors, local weather conditions, and the level of maintenance you’re comfortable with. Research fencing materials available in New Bedford, comparing prices and quality at local hardware stores. This step is crucial for budgeting and ensuring your chosen materials are suitable for the region’s climate and soil conditions. With a solid plan in place, you’ll be well-prepared to begin constructing your new fence.
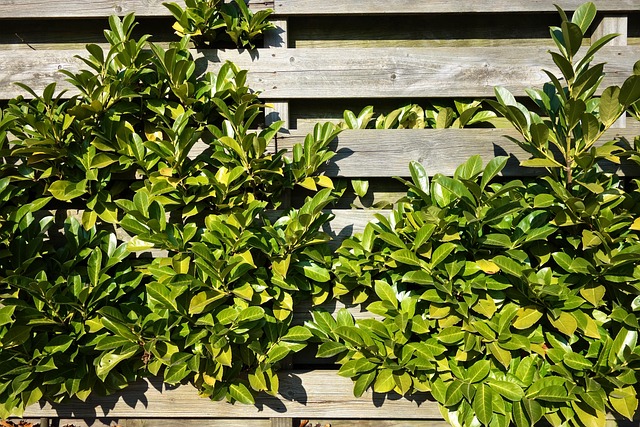
Choosing the Right Fence Material for New Bedford Climate
When considering fence installation in New Bedford, Massachusetts, selecting the appropriate material is key, especially given the region’s distinct climate. The weather patterns here can be quite varied, from hot summers to cold winters and frequent rain. Therefore, opt for durable and weather-resistant options like vinyl or wood with a protective coating.
Vinyl fences are an excellent choice as they don’t require much maintenance, are resistant to rot and decay, and hold up well against harsh weather conditions. Similarly, treated wooden fences can withstand the elements and provide good value over time. Consider the local climate when making your decision to ensure your fence is functional, long-lasting, and aesthetically pleasing.
Measuring and Mapping Your Property Line
Before installing a fence, it’s crucial to accurately determine where your property line lies. This ensures you’re staying within legal boundaries and avoiding potential disputes with neighbors. Start by gathering all necessary tools: tape measure, stakes, string, and a map or GPS device if available.
Next, walk the perimeter of your property, marking significant features like trees, shrubs, or existing structures that can help identify the line. Use your tape measure to take precise measurements from these landmarks, ensuring you cover every corner and edge. By doing so, you’ll create a clear, detailed map that guides your fence installation process, making it smoother and more accurate.
Digging and Marking Post Holes Effectively
Digging and marking post holes is a crucial step in DIY fence installation. Before breaking out your tools, plan out the placement of your fence posts based on the fence’s design and local building codes. Use stakes and string to outline the perimeter of your fence for accurate positioning. Once you have the layout, it’s time to dig the holes. The general rule is to dig holes that are one-third wider than the fence post at its base and deep enough to support the post’s length—usually around a third to half the post’s height. Ensure the soil inside the hole is loose and free of large rocks or roots for proper drainage and stability.
Attaching Rails and Panels: Step-by-Step Guide
To attach the rails and panels, start by positioning the rail posts at the desired intervals along your fence line. Dig holes for each post, ensuring they are deep enough to provide stability. Place the posts in the holes and secure them with concrete, allowing it to set completely. Once the posts are in place, attach the horizontal rails using brackets. Start at one end and work your way across, ensuring the rails are level and securely fastened.
Next, fit the fence panels between the rails. Use a rubber mallet to gently tap them into place, checking for gaps or misalignments as you go. Once all panels are installed, double-check the overall stability and security of the fence by applying gentle pressure at various points along the structure.