Installing a fence is a rewarding DIY project that enhances your New Bedford, Massachusetts property’s security and aesthetics. Before you begin, familiarize yourself with local regulations to ensure compliance. This guide provides essential tips for successful DIY fence installation, covering everything from selecting the perfect fence type to digging post holes and securing panels. By following these steps, you’ll create a durable and attractive barrier tailored to your yard’s unique needs.
- Understanding New Bedford's Fencing Regulations
- Choosing the Right Fence for Your Yard
- Measuring and Planning Your Fence Layout
- Gathering Essential Tools and Materials
- Digging Post Holes: A Step-by-Step Guide
- Attaching Panels and Securing the Fence
Understanding New Bedford's Fencing Regulations
Before starting your DIY fence installation project in New Bedford, it’s crucial to familiarize yourself with local regulations. The city of New Bedford has specific rules governing fence construction, including height restrictions, permitted materials, and setback requirements. These regulations are designed to maintain uniform aesthetics and property line boundaries throughout the city.
Homeowners should check with the New Bedford Planning Department or Building Inspector for up-to-date information on fencing codes. Understanding and adhering to these regulations will ensure your fence installation is in compliance, avoiding potential fines or legal issues down the road.
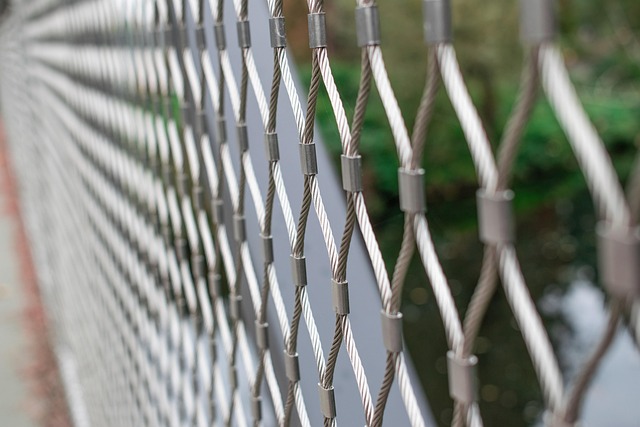
Choosing the Right Fence for Your Yard
When considering DIY fence installation, selecting the right type for your New Bedford yard is a crucial first step. The ideal fence should serve your specific needs—whether that’s privacy, security, or simply defining your property lines. Take into account factors like the size and shape of your yard, existing vegetation, and nearby structures. Wood fences offer classic beauty and versatility but require regular maintenance. Vinyl fencing is low-maintenance and comes in various styles, suitable for both residential and commercial properties. Chain link is robust, durable, and ideal for security or sports court boundaries.
Consider the aesthetic appeal that aligns with your home’s architecture and surrounding landscape. Local regulations may also dictate certain types of fencing, so ensure you check building codes before beginning your project. Measuring your yard accurately will help you determine the quantity of materials needed, making your DIY installation more efficient and cost-effective.
Measuring and Planning Your Fence Layout
Before you start building your new fence, take the time to plan its layout. Begin by measuring the perimeter of the area where you want to install it using a tape measure or a string and stakes for a rough outline. Consider the shape and size of your property, as well as any existing structures or trees that might impact the fence’s placement. Once you have a clear idea of the dimensions, create a simple sketch or use fencing software to visualize the layout, ensuring it aligns with local building codes and zoning regulations.
This planning stage is crucial for several reasons. It helps you choose the right materials based on your space constraints and design preferences. Accurate measurements also ensure that all components fit together seamlessly, saving you time and effort in the long run. Plus, a well-thought-out plan will make the installation process much smoother, allowing you to work efficiently and achieve a professional fence setup.
Gathering Essential Tools and Materials
Before you begin installing your new fence, it’s crucial to gather all the essential tools and materials needed for the job. For a typical DIY fence installation, you’ll require basic gardening tools like post-hole diggers, shovels, hammers, saws, and measuring tape. Don’t forget safety gear such as gloves and eye protection, especially when handling sharp objects or operating heavy equipment.
Additionally, ensure you have enough fencing materials, including posts, rails, brackets, and the chosen fence panels or pickets. Check local building codes and regulations for any specific requirements regarding fencing materials and dimensions. Gather all components carefully, checking for any defects, and organize them in a logical manner to make installation smoother.
Digging Post Holes: A Step-by-Step Guide
To start digging post holes for your new fence, begin by identifying the spots where each post will go. Use a measuring tape and mark these locations clearly on the ground. Next, gather your tools: a post-hole digger or an excavator (depending on the size of your project), a level, and a hammer.
Follow these steps: first, create a pilot hole using the post-hole digger or excavator to gauge depth and width. Then, using the level, ensure the hole is perfectly vertical. Fill the hole with water, wait for it to settle, and check again for levelness. Once satisfied, use the hammer to remove any remaining debris and compact the soil at the bottom of the hole.
Attaching Panels and Securing the Fence
When attaching fence panels to posts, it’s crucial to use high-quality hardware like brackets or nails designed for outdoor use. Start by lining up the panel with the post and securing it temporarily with braces or wooden stakes to ensure alignment. Then, fasten the panel firmly using the chosen hardware. Make sure to space the panels evenly and measure the distance between posts consistently throughout the fence line.
For added security, consider pre-drilling pilot holes for your nails or screws to prevent splitting the wood. Use a level to ensure each panel is plumb (vertically straight) before securing it completely. Once all panels are attached, double-check connections at each joint to make sure the fence is sturdy and secure against potential intruders or wild animals.