DIY Fence Installation: A Comprehensive Guide for New Bedford Homeowners
Are you looking to enhance your New Bedford property with a new fence? Installing your own fence can be a rewarding project that adds both privacy and curb appeal. This step-by-step guide will walk you through the process, from preparing your yard to finishing touches. Learn how to choose the perfect fence style and material, mark out the line accurately, dig post holes, set posts securely, attach panels and gates, and finally, protect your new fence with paint or stain.
- Prepare Your Yard for Fence Installation
- Choose the Right Fence Style and Material
- Mark Out the Fence Line Accurately
- Dig Post Holes and Set Fence Posts
- Attach Panels and Gates, Finish with Paint or Stain
Prepare Your Yard for Fence Installation
Before beginning the fence installation process, preparing your yard is a crucial step. Start by clearing any debris, such as branches or old landscaping materials, from the area where the fence will be erected. This ensures a clean and level surface for construction. Measure and mark out the perimeter of your desired fence line using stakes and string to guide the exact placement.
Remove any existing barriers or obstructions like plants, hedges, or fences that might interfere with the new installation. Trimming and pruning nearby trees or shrubs will also help in achieving a neat finish. Additionally, check local regulations and property restrictions to ensure your fence design and height comply with New Bedford’s guidelines for residential areas.
Choose the Right Fence Style and Material
When selecting a fence style for your New Bedford, Massachusetts property, consider factors like functionality, aesthetics, and your budget. Each style offers unique benefits; for instance, a wooden fence provides a classic look and excellent privacy, while a vinyl fence is low-maintenance and requires less upkeep compared to wood or metal.
The material you choose should also align with your local climate and environmental conditions. In Massachusetts, where winters can be harsh, durable materials like treated wood or vinyl are ideal choices as they can withstand snow and ice better than untreated wood. Additionally, consider the fence’s longevity, resistance to rot, and pest damage for a long-lasting installation.
Mark Out the Fence Line Accurately
Accurately marking out the fence line is a crucial first step in your DIY installation project. Using string and stakes, visually outline the desired perimeter, ensuring it aligns with your local regulations and property lines. This process allows for precise measuring and cutting of posts, rails, and panels, guaranteeing a secure and level fence structure.
By carefully marking the line, you can avoid potential mistakes and ensure the fence functions effectively as a boundary. It also helps in visualizing the final product, enabling better planning for materials, tools, and labor required for a successful installation.
Dig Post Holes and Set Fence Posts
Before installing your fence, it’s crucial to prepare the ground by digging post holes and setting the fence posts. In New Bedford, Massachusetts, with varying soil types, it’s essential to dig deep enough to ensure stability. Typically, holes should be around 3 feet deep for most residential areas, but check local building codes as requirements can vary. The holes should be wide enough to accommodate the fence post, usually about 1 foot in diameter.
When setting the posts, make sure they’re plumb (vertically straight) and level using a level tool. Fill the holes with concrete, leaving a small gap for weatherproofing if necessary. Once the concrete sets, you can attach your fence panels or rails, creating a sturdy barrier that enhances your property’s aesthetics and security.
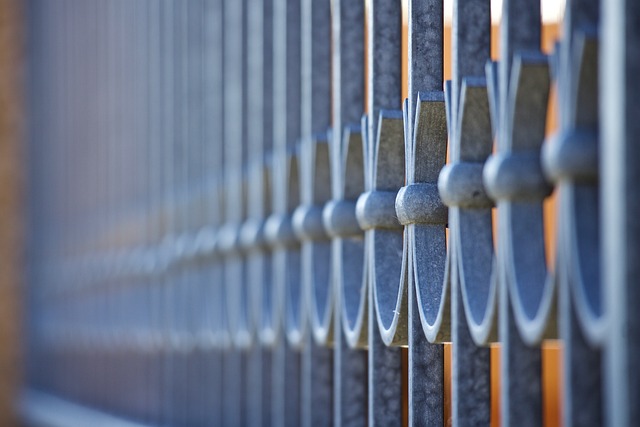
Attach Panels and Gates, Finish with Paint or Stain
After properly securing your fence posts, it’s time to attach the panels and gates. Start by aligning the panels with the posts using brackets, ensuring they’re level and secure. Fasten them in place with screws or nails, depending on the panel material and manufacturer’s instructions. For added strength and a finished look, consider attaching gate supports to the posts as well.
Once the panels are in place, it’s time to enhance their appearance and protect them from the elements. Apply a coat of paint or stain to match your desired aesthetic. This not only boosts curb appeal but also safeguards the fence against rot, decay, and weather damage. Use a brush or roller for small areas, and a sprayer for larger fences to ensure even coverage.