DIY Fence Installation Tips for New Bedford, Massachusetts Homeowners
Considering a DIY fence installation? Before you begin, familiarize yourself with New Bedford’s local fencing regulations to ensure compliance. This guide provides essential tips tailored to the unique requirements of New Bedford homeowners. From selecting the ideal fence type suited to your yard’s topography and climate, to step-by-step instructions for digging post holes, installing footings, and adding panels, this comprehensive tutorial ensures a sturdy, aesthetically pleasing fence that enhances your property value.
- Understanding New Bedford's Fencing Regulations
- Choosing the Right Fence Type for Your Yard
- Measuring and Planning Your Fence Layout
- Gathering Essential Tools and Materials
- Digging Post Holes and Installing Footings
- Attaching Panels, Topping, and Final Touches
Understanding New Bedford's Fencing Regulations
Before starting any DIY fence installation project in New Bedford, Massachusetts, homeowners should familiarize themselves with the local fencing regulations. These regulations are in place to ensure uniformity, safety, and aesthetic standards across the city. Check with the New Bedford Planning Department or the Building Inspection Division to obtain a copy of the current zoning ordinances regarding fences. Important factors to consider include fence height restrictions, setbacks from property lines, and materials allowed for construction. Understanding and adhering to these regulations is crucial to avoid fines and potential permit revocations. It also ensures your fence complies with city standards and enhances the overall value of your property.
Choosing the Right Fence Type for Your Yard
When considering fence installation, New Bedford homeowners should first evaluate their yard’s unique needs and aesthetics. Different fence types offer various benefits; for instance, wood fences exude a natural charm but demand regular maintenance, while vinyl fences are low-maintenance and durable. The size and layout of your property also play a crucial role in selection. Privacy is a top priority? Then a solid wooden or tall vinyl fence might be ideal. On the other hand, if you desire a more visually appealing boundary, consider decorative options like wrought iron or chain-link fences, which can add character to your landscape.
Take into account the surrounding environment as well. If privacy isn’t a significant concern but noise reduction is, opt for fences with a solid barrier or dense foliage-lined barriers to create a peaceful outdoor sanctuary. Moreover, local regulations and zoning laws regarding fence height and materials should be considered to ensure your chosen fence aligns with community guidelines.
Measuring and Planning Your Fence Layout
When planning your DIY fence installation in New Bedford, careful measurement and layout are crucial steps. Start by assessing your property lines and identifying where you want your fence to be located. Use measuring tapes to take precise dimensions of the area you plan to fence, considering any gates or openings you might need. This data will help you determine the amount of material required and ensure a proper fit.
Next, create a layout plan, visualizing the fence’s alignment and height in relation to your property. Consider local regulations and neighborhood aesthetics; some areas have guidelines regarding fence styles and heights. By mapping out your design before installation begins, you can make informed decisions and avoid costly mistakes, ensuring a satisfactory DIY fencing project.
Gathering Essential Tools and Materials
When planning a DIY fence installation, the first step is to gather all the essential tools and materials required for the job. For New Bedford, Massachusetts homeowners, this typically includes post holes diggers, concrete mixers or bags of ready-mix concrete, wooden fence posts, rails, brackets, and fencing panels. Don’t forget protective gear like gloves, safety glasses, and ear protection. Also, ensure you have measuring tape to accurately determine the length and height of your fence, as well as a level to keep it straight.
Before starting, create a detailed plan outlining the layout of your fence, including any gates or openings. This will guide your tool selection and help you calculate how much material you’ll need. With the right tools and a clear plan, DIY fence installation becomes more manageable and cost-effective.
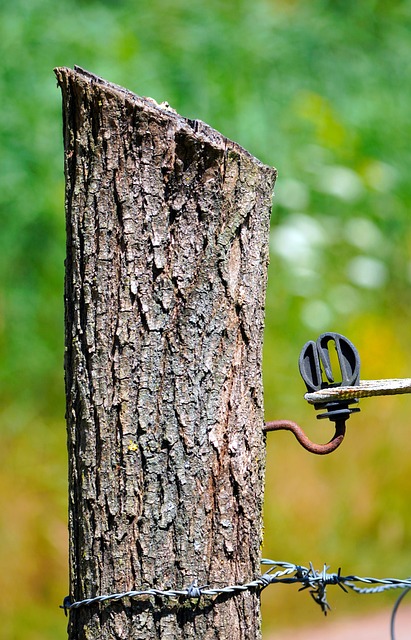
Digging Post Holes and Installing Footings
Before installing any fence posts, digging post holes is a crucial step in the DIY process. New Bedford’s soil conditions may vary, so it’s essential to choose an appropriate location and ensure proper drainage. Use a hole digger or shovel to create cylindrical openings deep enough to accommodate at least one-third of the post’s height. The holes should be wide enough (typically 8–12 inches) for good soil-post contact.
After digging, install concrete footings in each hole to provide stability and support. Pour concrete slowly into the holes, ensuring it fills them completely. Use a level to ensure the footings are straight and even. As the concrete sets, it will create a solid foundation for your fence posts, preventing movement or shifting over time.
Attaching Panels, Topping, and Final Touches
After securely attaching the fence panels to the posts, it’s time to complete your new fence with topping and final touches. Install a cap or crown on top of each panel to enhance aesthetics and protect against the elements. Use a level to ensure the caps are aligned, creating a neat, uniform look across your entire fence line. Consider adding decorative touches like trellises or lattice panels at the top for added charm.
For a polished finish, apply any desired finishes or sealants to both the fence panels and posts. This step will not only protect your fence from decay but also enhance its longevity. Ensure all hardware is tight and secure, and take pride in knowing your DIY fence installation has reached its full potential, transforming your New Bedford property for years to come.