- Understanding New Bedford's Fencing Regulations
- Choosing the Right Fence Type for Your Yard
- Measuring and Planning Your Fence Layout
- Tools and Materials Needed for Installation
- Step-by-Step Guide to DIY Fence Building
- Tips for Maintenance and Longevity of Your Fence
Understanding New Bedford's Fencing Regulations
Before beginning your DIY fence installation project in New Bedford, take time to familiarize yourself with local regulations and building codes. The city of New Bedford has specific guidelines regarding fence construction, including height restrictions, permitted materials, and distance requirements from property lines and roads. Homeowners should check with the Planning Department or Building Inspection Office for detailed information on these regulations.
Understanding and adhering to these rules is essential to avoid fines and ensure your fence installation complies with local laws. Some restrictions may vary depending on your neighborhood or zoning district, so it’s crucial to review the latest guidelines and obtain any necessary permits before starting your project.
Choosing the Right Fence Type for Your Yard
When considering a DIY fence installation, selecting the appropriate fence type is paramount to your project’s success. The right fence should not only complement your New Bedford, Massachusetts property’s aesthetic but also serve its functional needs. For instance, if privacy is a priority, opt for solid wooden or vinyl fences that offer a seamless barrier. On the other hand, if you seek a more visually appealing and natural look, consider a split-rail fence, which adds character to your yard while still providing some privacy.
Your property’s layout and surrounding environment also play a significant role in choice. For narrow spaces, vertical fences or low hedges can make efficient use of limited room. In contrast, wide open areas may suit broader fences like chain link or wood picket styles that showcase the landscape without obstructing views.
Measuring and Planning Your Fence Layout
Tools and Materials Needed for Installation
When it comes to DIY fence installation, having the right tools and materials is half the battle won. For New Bedford, Massachusetts homeowners taking on this project, a basic toolkit will be your best friend. Start with a set of high-quality scissors or a utility knife for cutting fencing materials, a tape measure for precise measurements, and a level to ensure your fence is straight and secure. A drill with various bits is essential for installing posts and securing wires or chains, especially if you’re using a wooden or metal fence.
Don’t forget protective gear like gloves and safety glasses. For concrete posts, you’ll need rebar and a concrete mixer or bagging machine to set the posts firmly in place. Also, gather various types of fencing panels, rails, and brackets depending on your chosen design. Having these essentials ready before beginning will make the installation process smoother and more efficient.
Step-by-Step Guide to DIY Fence Building
Building your own fence can be a rewarding project for any New Bedford homeowner looking to enhance their outdoor space. Here’s a straightforward guide to get you started, turning your vision into a reality with just a few tools and materials. Begin by measuring the perimeter of the area where you want the fence to stand. Mark these points clearly using stakes or flags. Next, decide on the type of fence you desire—wooden, vinyl, or chain-link—and procure the appropriate materials. For a wooden fence, you’ll need posts, rails, and pickets, while vinyl requires posts, brackets, and panels.
Once your supplies are assembled, start by digging holes for the fence posts at each marked point. Ensure these holes are deep enough to support the weight of the fence (typically about one-third of the post’s height). After setting the posts, attach the rails using brackets or nails, depending on your chosen material. Leave a small gap between each rail to accommodate any expansion or contraction. Finally, fasten the pickets or panels securely to the rails, completing your DIY fence installation.
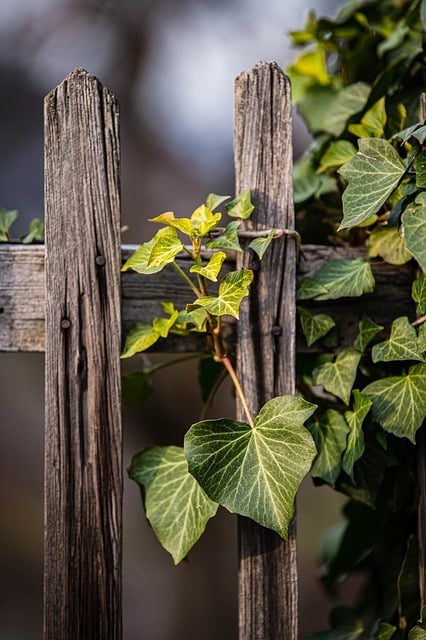
Tips for Maintenance and Longevity of Your Fence
Regular cleaning and inspection are key to maintaining your new fence’s appearance and structural integrity. Remove any debris, such as leaves or twigs, that may accumulate over time using a soft brush or hose. This prevents damage caused by foreign objects. Inspecting your fence periodically allows you to identify and address issues early on, whether it’s loose boards, rusted posts, or cracks in the paint.
Applying a fresh coat of protective coating or sealant every couple of years can significantly enhance your fence’s longevity. This step is especially crucial for wooden fences as it shields them from moisture and UV rays, which are major contributors to wood rot and fading. Remember, proper maintenance not only keeps your fence looking good but also ensures it serves its purpose securely and safely for many years to come.