DIY Fence Installation Tips for New Bedford, Massachusetts Homeowners
If you’re a New Bedford homeowner looking to enhance your property with a new fence, the DIY route can be both rewarding and cost-effective. This comprehensive guide walks you through every step of the process, from understanding your fence options tailored to New Bedford yards, to securing and bracing your fence properly for longevity. By following our detailed instructions on measuring, planning, preparing the ground, assembly, final touches, and maintenance, you’ll have a durable and aesthetically pleasing fence in no time.
- Understanding Your Fence Options for New Bedford Yards
- Measuring and Planning Your Fence Layout
- Preparing the Ground for Installation
- Step-by-Step Guide to DIY Fence Assembly
- Securing and Bracing Your Fence Properly
- Final Touches and Maintenance Tips for Longevity
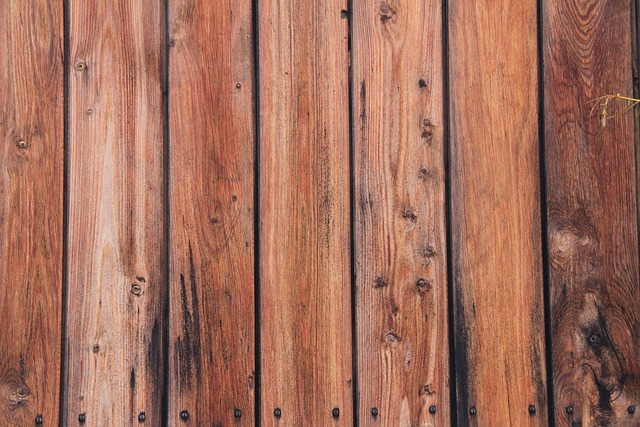
Understanding Your Fence Options for New Bedford Yards
When considering DIY fence installation in New Bedford, Massachusetts, homeowners have a variety of options to choose from based on their needs and preferences. Wooden fences offer classic beauty and come in various styles like picket or privacy fences. Vinyl fencing is popular for its low maintenance and durability, available in numerous colors and designs. Chain link fences are ideal for security and can be easily customized with gates and accessories. Before starting your project, assess the layout of your yard, taking note of any trees, shrubs, or power lines that might affect fence placement. Understanding local regulations regarding fence heights and materials is also essential to ensure compliance and avoid any legal issues.
Measuring and Planning Your Fence Layout
Preparing the Ground for Installation
Before installing your fence, preparing the ground is a crucial step. Clear any debris or vegetation from the area where the fence will be erected. This includes branches, weeds, and rocks, as they can interfere with the process. Marking out the perimeter of your desired fence line with stakes and string will also help ensure a straight and even installation.
Loosening the soil along this marked line is essential to allow for proper drainage and a secure base. Use a garden fork or mechanical digger to loosen the soil, creating a flat and level surface. This preparation ensures that your fence stands sturdy and reduces the risk of uneven settling over time.
Step-by-Step Guide to DIY Fence Assembly
Before beginning your DIY fence installation, gather all necessary tools and materials. You’ll need a measuring tape, post holes digger or hammer, concrete mix, rebar, fencing posts, fence panels, brackets, and fasteners. Start by marking the perimeter of your desired fence line using stakes and string. Dig post holes along this line, ensuring they’re deep enough to support the weight of the fence. Next, set up the posts in the holes, using concrete to secure them firmly in place. Allow the concrete to dry completely before proceeding. Once your posts are stable, attach the fence panels to the posts using brackets and fasteners, ensuring they’re level and secure. Finally, trim any excess material and inspect your handiwork for a sturdy, new fence.
Securing and Bracing Your Fence Properly
When installing a fence, ensuring it’s secure and properly braced is paramount to its longevity and stability. Begin by excavating a shallow trench along your desired fence line, typically about 1-2 feet deep. This trench should be wide enough for the fence posts (typically 3-4 feet) and filled with compacted soil or concrete for a solid foundation. Place your fence posts in the trench, ensuring they stand upright and aligned. Use wooden stakes temporarily to brace the posts while the concrete sets if needed.
For added support, consider using bracing systems that attach to the posts. These systems, often made of metal, provide horizontal stability and prevent bowing or leaning over time. Ensure any hardware you use is appropriate for your fence material and local climate conditions. Regularly inspect your braced fence, tightening connections as necessary to maintain its structural integrity throughout the seasons.
Final Touches and Maintenance Tips for Longevity
Once your fence is fully installed, it’s time to admire your handiwork. The final touches include ensuring all posts are firmly in place, gates swing smoothly, and any hardware is securely fastened. A coat of paint or sealant can protect the wood from the elements, enhancing its longevity. Regular maintenance, such as cleaning the fence, inspecting for damage, and repairing any issues promptly, will keep your New Bedford, Massachusetts fence looking its best for years to come.