Introducing the Ultimate Guide to Fence Staining and Sealing
Maintaining an outdoor space becomes easier with expert knowledge on fence staining and sealing. This comprehensive article delves into the art of enhancing wooden fences, ensuring they not only look impeccable but also stand the test of time. We explore the benefits of staining, from protecting wood to adding aesthetic appeal. Learn about various color options, suitable stains for different wood types, and the vital role sealing plays in preserving your fence’s investment. Get ready to transform your outdoor sanctuary with professional techniques and maintenance tips for long-lasting results.
- Understanding Fence Staining: Benefits and Techniques
- Choosing the Right Stain: Color Options & Wood Types
- The Importance of Sealing for Longevity
- Step-by-Step Guide to Professional Fence Staining & Sealing
- Maintenance Tips for Lasting Results After Staining
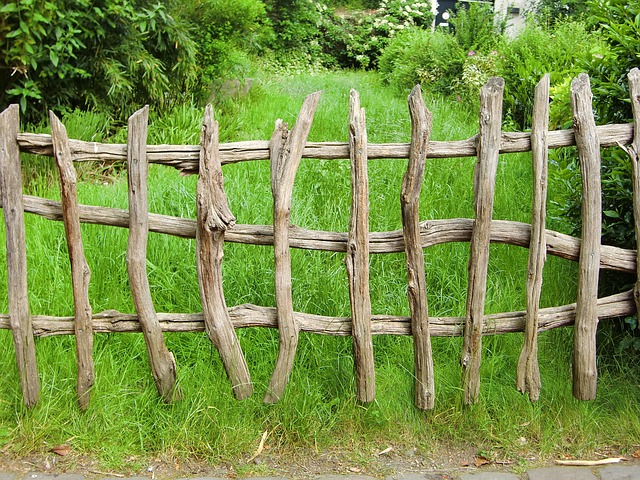
Understanding Fence Staining: Benefits and Techniques
Fence staining is an excellent way to enhance the appearance and protect your wooden fences. It involves applying a coloured sealer or stain to the fence’s surface, which can transform its look while offering several advantages. The primary benefit is durability; stains create a protective barrier against elements like sunlight, rain, and extreme temperatures, preventing wood rot, fading, and peeling. Regular staining also allows you to maintain the fence’s natural beauty and grain pattern, making it an appealing option for homeowners seeking an aesthetic upgrade without complete replacement.
There are various techniques to achieve stunning results. One common method is brush-on staining, suitable for smaller fences or sections. This technique offers precise control over colour application but may take longer due to the manual effort. Spraying is another popular choice, especially for larger areas, as it’s faster and can cover more ground evenly. For a more even finish, consider using a roller or pad after brushing to ensure no spots are left untouched. Remember, preparation is key; cleaning the fence thoroughly before staining ensures better adhesion and long-lasting results.
Choosing the Right Stain: Color Options & Wood Types
Choosing the right stain for your wooden fence is a crucial step in enhancing its beauty and protection. First, consider the color options available, ranging from natural, earthy tones to vibrant, bold shades. Different colors can dramatically alter the ambiance of your outdoor space, so select one that complements your home’s aesthetic or creates the desired atmosphere. For example, warm browns and reds offer a rustic charm, while cooler grays and blues provide a modern look.
Additionally, understanding wood types is essential. Fences made from various woods, such as cedar, pine, or redwood, may require specific stains due to their unique properties. Cedar, known for its natural resistance to rot and insects, often needs a light-colored stain to highlight its beauty. Pine and redwood, on the other hand, can handle darker colors that offer better protection against elements. Always check the wood’s species and choose a stain formulated to suit its characteristics for long-lasting results.
The Importance of Sealing for Longevity
Staining and sealing your wooden fence is an essential step in ensuring its longevity and preserving its beauty. Wood, left unprotected, is susceptible to various elements that can cause it to deteriorate over time. Moisture, UV rays from the sun, and extreme temperatures can all contribute to the decay of wood, leading to cracks, warping, and an unsightly appearance. Sealing acts as a protective barrier, creating a shield that prevents these harmful factors from penetrating the wood’s surface.
By applying a high-quality sealant, you create a waterproof layer that protects against moisture damage, one of the primary causes of wooden fence decay. The sealant also helps to reflect UV rays, reducing the sun’s aging effect on the wood. This simple yet effective process ensures your fence remains robust and visually appealing for years to come.
Step-by-Step Guide to Professional Fence Staining & Sealing
Step-by-Step Guide to Professional Fence Staining & Sealing
Before beginning, assess your fence’s condition and choose a staining/sealing product suitable for wood. This process typically involves several steps. First, clean the fence thoroughly, removing any dirt, debris, or existing paint with a pressure washer or scrub brush. Next, sand the surface gently to roughen it slightly, enhancing adhesion. After allowing the fence to dry completely, apply an initial coat of stain, following the product’s instructions for coverage and drying time.
Once the stain dries, add a layer of sealer to protect the wood from the elements. Use a brush or roller for even application, ensuring complete coverage. Allow this coat to dry as per the manufacturer’s guidelines before adding additional coats if needed, depending on desired coloration and protection. Regular maintenance, including re-staining and resealing every few years, will preserve your fence’s beauty and longevity.
Maintenance Tips for Lasting Results After Staining
After successfully staining and sealing your wooden fence, maintaining its beauty and longevity requires some simple steps. Regular cleaning is key; remove any dirt or debris that may accumulate on the fence’s surface using a soft brush or garden hose. Avoid harsh chemicals as they can strip away the protective sealant.
To ensure the stain stays vibrant, inspect the fence periodically for any signs of fading or chipping. Touch-up stains in problem areas to maintain an even color. Additionally, reapply the sealing coat annually to shield the wood from the elements, extending its life and keeping it looking fresh.