Introduction:
Protecting and enhancing your wooden fence doesn’t stop at installation. Fence staining and sealing are essential steps to preserve its beauty and longevity. This comprehensive guide delves into the art of fencing maintenance, focusing on staining and sealing techniques. We’ll explore the benefits and diverse types of stains, equip you with preparation tips for optimal results, and provide a detailed step-by-step process. By the end, you’ll be armed with the knowledge to transform your wooden fence into a stunning feature that stands the test of time.
- Understanding Fence Staining: Benefits and Types
- Preparing Your Wooden Fence for Staining and Sealing
- Choosing the Right Stain and Sealer for Optimal Protection
- Step-by-Step Guide to Effective Fence Staining and Sealing
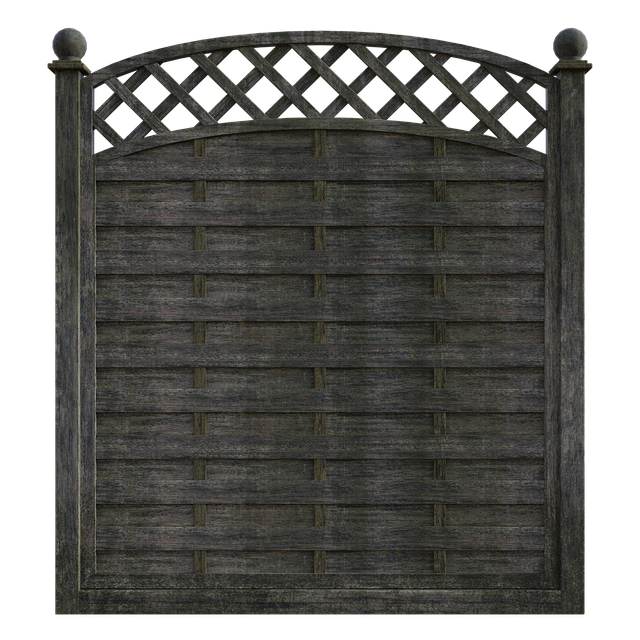
Understanding Fence Staining: Benefits and Types
Fence staining is an excellent way to enhance the appearance and protect your wooden fence. By applying a coat of stain, you can transform the ordinary into the extraordinary, adding depth and color that complements your home’s exterior. The process involves blocking out unwanted elements with a sealer first, then applying the stain to achieve the desired look—from natural wood tones to bold, vibrant hues.
There are various types of fence stains available, each offering unique benefits. Water-based stains are popular for their low odor and ease of application, while oil-based stains provide deeper, richer colors and better protection against fading. Solid color stains offer a uniform look, ideal for those seeking a dramatic transformation, while transparent or semi-transparent stains allow the natural grain and character of the wood to show through, providing subtle enhancements.
Preparing Your Wooden Fence for Staining and Sealing
Before applying stain or sealer, preparing your wooden fence is a crucial step to ensure optimal results. Start by thoroughly cleaning the fence to remove any dirt, debris, or loose wood. Use a pressure washer or a stiff brush with mild detergent to achieve a clean surface. This process helps the stain adhere better and prevents it from peeling off prematurely.
Once cleaned, inspect the fence for any repairs needed. Fill in cracks or holes using a suitable wood filler, and sand any rough patches to create a smooth base. Sanding also helps to open up the wood’s pores, allowing the stain to penetrate deeper, resulting in a more even and lasting finish. Ensure the fence is dry before proceeding to the next step.
Choosing the Right Stain and Sealer for Optimal Protection
When it comes to protecting your wooden fence, selecting the suitable stain and sealer is a crucial step. Different stains offer various levels of color and transparency, so choose one that complements your fence’s natural wood tone or provides the desired aesthetic. Water-based stains are popular for their low odor and quick drying time, while oil-based stains penetrate deeper to enhance wood grain. Consider factors like climate and sun exposure; if your fence is in a humid area, opt for water-repellent sealers for better moisture protection. For outdoor spaces with high traffic or harsh conditions, choose products designed for durability and resistance against fading and peeling.
For optimal protection, apply a sealer after staining to create a protective barrier. Sealers can be oil-based or water-based, each offering unique benefits. Oil-based sealers provide superior durability and protection against stains, but they may take longer to dry and have a stronger odor. Water-based options are more environmentally friendly, quick-drying, and easy to clean up, making them ideal for those seeking a low-maintenance solution. Ensure you follow the manufacturer’s instructions for application, allowing each coat to dry thoroughly before adding another to achieve the best results.
Step-by-Step Guide to Effective Fence Staining and Sealing
To achieve a long-lasting, vibrant finish for your wooden fence, follow this step-by-step guide. First, clean the fence thoroughly to remove any dirt, dust, or debris using a pressure washer or a mild detergent solution. This ensures the stain adheres properly. Next, sand the surface gently to create a rough texture, allowing the stain to better penetrate the wood.
After cleaning and sanding, choose your desired color of exterior wood stain and apply it evenly across the fence using a brush, roller, or sprayer. Allow the stain to dry completely according to the manufacturer’s instructions. Once dry, seal the stained fence with a high-quality water-based sealer to protect against UV damage, moisture, and fading.