Installing a fence is a rewarding DIY project that enhances your New Bedford, Massachusetts property’s aesthetics and security. This comprehensive guide equips homeowners with essential knowledge to tackle the task confidently. From understanding local regulations and choosing suitable fencing materials to planning layout and preparing the ground, we provide step-by-step instructions for a successful installation. By following these tips, you’ll ensure a sturdy fence that stands the test of time, increasing your property’s value and providing years of enjoyment.
- Understanding Your Fence Options for New Bedford Properties
- Measuring and Planning Your Fence Layout Effectively
- Preparing the Ground: Essential Pre-Installation Steps
- Step-by-Step Guide to DIY Fence Installation
- Tools and Materials You'll Need for the Job
- Final Checks and Maintenance Tips for Longevity
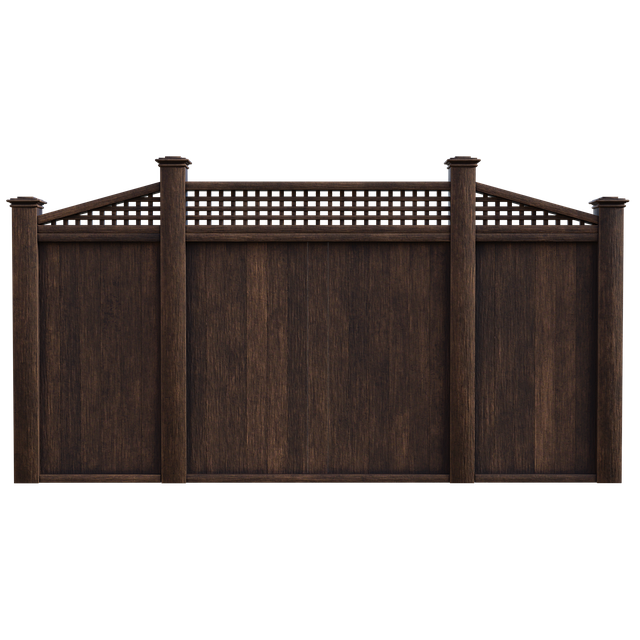
Understanding Your Fence Options for New Bedford Properties
When it comes to fencing your New Bedford, Massachusetts property, there’s a world of options to consider. From traditional wooden picket fences that offer classic charm to sturdy vinyl options known for their low maintenance, each style and material has its own unique advantages and aesthetic appeal. Additionally, modern fences incorporate innovative materials like composite wood and aluminum, providing both durability and contemporary design elements.
Understanding your property’s specific needs, surrounding landscape, and personal style is essential when choosing a fence. Consider factors like privacy, security, and visual impact. Do you seek a seamless integration with your natural surroundings or a bold statement that enhances your curb appeal? By evaluating these elements, you can make an informed decision that will transform your outdoor space for years to come.
Measuring and Planning Your Fence Layout Effectively
When planning your DIY fence installation in New Bedford, measuring and mapping out your desired layout is a crucial first step. Take time to walk the perimeter of your property, noting any existing structures, trees, or other obstacles that might impact where your fence can be placed. This visual survey will help you identify potential challenges and plan for adjustments before breaking ground.
Use string or chalk to mark out the fence line on the ground, creating a rough sketch of your intended layout. Ensure your measurements are accurate—the last thing you want is a fence that doesn’t fit properly. Consider factors like post spacing (typically every 6-8 feet), gate placement, and any aesthetic preferences for height or style. This planning stage will save you time and frustration later on.
Preparing the Ground: Essential Pre-Installation Steps
Before installing your new fence, preparing the ground is a crucial step that cannot be overlooked. Start by clearing the area where the fence will be placed, removing any plants, weeds, or debris. This ensures a clean slate for construction and helps prevent future obstacles. Mark out the perimeter of your desired fence line using stakes and string to establish an accurate boundary.
Next, assess the soil conditions. Digging into the ground may reveal different layers and textures, so it’s important to understand what lies beneath. In New Bedford, Massachusetts, you might encounter a mix of loam and clay, which can affect how your fence posts will settle over time. Compacting the soil slightly along the proposed fence line can provide a sturdy foundation for your posts, ensuring they remain steady and secure for years to come.
Step-by-Step Guide to DIY Fence Installation
Before you begin your DIY fence installation, gather all necessary materials and tools, including posts, rails, fencing panels, concrete, a hammer, drill, measuring tape, and a level. Start by marking out the perimeter of your desired fence line using string and stakes, ensuring it aligns with local regulations. Next, dig holes for the fence posts, making them deep enough to support the weight of the structure (typically around 3 feet). Place concrete in the holes and allow it to set completely.
Once the concrete is cured, measure and mark where each post will be attached to the rails. Use a drill to create pilot holes, then attach the rails securely to the posts with brackets. Install fencing panels by sliding them into place between the rails, ensuring they are level and aligned. Finally, double-check all connections, make any necessary adjustments, and celebrate your newly installed DIY fence!
Tools and Materials You'll Need for the Job
Before starting your DIY fence installation, gather the necessary tools and materials to ensure a smooth and successful project. For most fencing projects in New Bedford, you’ll require basic hand tools like a hammer, measuring tape, level, post-hole digger, and a saw (either manual or power). Additionally, you will need specific materials for your chosen fence type: wooden posts, rails, pickets, concrete for setting the posts, and fencing paint or stain. Don’t forget protective gear such as gloves, safety goggles, and ear protection for safety during installation.
Final Checks and Maintenance Tips for Longevity
Before finalizing your DIY fence installation, conduct a thorough inspection to ensure everything is secure and level. Check all connections, bolts, and posts for any signs of loose or damaged components. Tighten as needed using the appropriate tools. Additionally, verify that the gate swings smoothly and opens/closes correctly. Once complete, regularly inspect and maintain your fence to prolong its lifespan. Keep an eye out for any rot or damage, especially during Massachusetts’ harsh winters. Promptly repair or replace any affected sections. Regular cleaning with mild soap and water will help maintain the fence’s appearance.