DIY Fence Installation: A Comprehensive Guide for New Bedford Homeowners
Are you a New Bedford resident looking to enhance your outdoor space? Installing a fence can be a rewarding project, allowing you to personalize your yard while providing privacy and security. This guide is tailored for Massachusetts homeowners, offering insights into navigating local regulations and selecting the perfect fence. We’ll walk you through the process, from understanding legal considerations to choosing materials, measuring, planning, and finally, erecting your new barrier with ease.
- Understanding New Bedford's Fencing Regulations
- Choosing the Right Fence Type for Your Yard
- Measuring and Planning Your Fence Layout
- Tools and Materials Needed for Installation
- Step-by-Step Guide to DIY Fence Assembly and Errecting
Understanding New Bedford's Fencing Regulations
Before installing a fence, it’s crucial to familiarize yourself with New Bedford’s local ordinances and regulations. The city of New Bedford has specific guidelines regarding fence heights, materials, and placement. Typically, there are restrictions on the maximum height allowed for fences, which vary depending on the property’s zoning district. Residential areas often have limits around 6 feet, while commercial or industrial zones might permit taller fences.
Additionally, permits may be required before any construction begins. Homeowners should check with the local building department to understand what documentation and plans are needed. Adhering to these regulations ensures a smooth installation process and avoids potential fines or legal issues down the line.
Choosing the Right Fence Type for Your Yard
When considering DIY fence installation, selecting the appropriate fence type is a crucial first step for New Bedford homeowners. The ideal choice should align with your yard’s unique features and your personal aesthetic preferences. For instance, if privacy is a priority, a tall, solid wood or vinyl fence could be an excellent option, offering both seclusion and durability. On the other hand, a low-maintenance metal fence may suit those seeking a more contemporary look and easier upkeep.
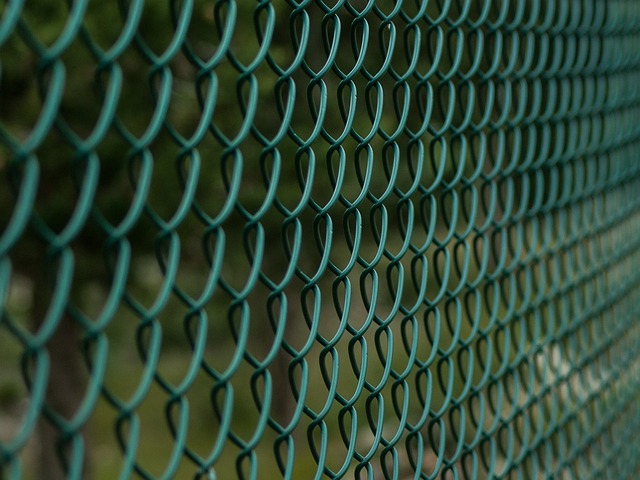
The size and layout of your yard also play a significant role in this decision. Fences like chain link or wire mesh are versatile and suitable for large, open spaces, providing security without obstructing the view. For smaller, enclosed yards, a wooden privacy fence or a charming white picket fence can create a cozy outdoor haven while defining your property boundaries.
Measuring and Planning Your Fence Layout
Before you start hammering away, take some time to plan your fence layout. Begin by measuring the perimeter of your desired fence area. This will give you a clear understanding of the length and width of the fence, helping you decide on the number of posts needed. Mark out the lines with string or chalk to visualize the fence’s position. Consider factors like where the fence will be visible from in your yard, and if there are any obstructions like trees or shrubs that might affect placement.
Creating a simple sketch can help; mark out gates or entry points as well. This pre-planning ensures a smoother installation process and a fence that meets both your practical needs and aesthetic preferences.
Tools and Materials Needed for Installation
When it comes to DIY fence installation, having the right tools and materials is half the battle won. For a typical New Bedford, Massachusetts fence project, you’ll need a variety of essential items. Start with basic hand tools such as a hammer, tape measure, level, and post-hole digger. These will help you mark out the fence line, measure and cut posts to size, and dig holes for proper post placement.
Additionally, gather materials like wooden or vinyl fencing panels, posts, concrete mix for setting the posts, rebar for added support, and a variety of fasteners such as nails or screws suitable for your chosen fencing material. It’s also wise to invest in protective gear including safety goggles, gloves, and ear protection, especially if you’re using power tools. Having these ready before beginning will ensure your project flows smoothly and efficiently.
Step-by-Step Guide to DIY Fence Assembly and Errecting
To install a fence yourself, start by gathering all the necessary tools and materials, including your fence panels, posts, hardware, string line, measuring tape, post-hole digger, hammer, and screwdriver. Choose a clear day to work, as digging and assembling can be easier with dry conditions. First, mark out the perimeter of your desired fence line using string and stakes. Dig holes for the fence posts, ensuring they are deep enough (typically one-third to half the post’s height) to provide stability. Place the posts in the holes and use shims if needed to level them.
Next, attach the bottom rail to the posts using brackets or nails, depending on your fence design. Line up the fence panels with the rails and secure them with screws or nails. For a more secure fit, consider pre-drilling pilot holes. Leave gaps at the top of about 1/2″ for slats to be inserted later. Once all panels are in place, attach the top rail, and finally, install the gate if applicable, making sure it opens and closes smoothly.