DIY Fence Installation Tips for New Bedford Homeowners
Considering a DIY fence installation? For New Bedford, Massachusetts homeowners looking to enhance their outdoor spaces, understanding the process and planning accordingly are key to success. This comprehensive guide walks you through every step, from selecting the right fence options tailored to your yard’s unique characteristics to preparing the ground, setting posts, attaching railings and panels, and finishing with long-lasting maintenance tips. By following these expert tips, you’ll be well on your way to a beautiful new fence that adds both style and security to your home.
- Understanding Your Fence Options for New Bedford Yards
- Measuring and Planning Your Fence Layout
- Preparing the Ground for Installation
- Step-by-Step Guide to Post Setting
- Attaching Railing and Panels: A Visual Walkthrough
- Final Touches and Maintenance Tips for Longevity
Understanding Your Fence Options for New Bedford Yards
When it comes to fencing your New Bedford, Massachusetts yard, there are numerous options to consider. The first step is evaluating your specific needs and preferences. Do you seek privacy, security, or simply a decorative boundary? Each type of fence—from wood to vinyl, chain link to iron—offers distinct advantages and styles.
Wooden fences, for instance, provide classic beauty and come in various designs, while vinyl fences are low-maintenance and durable. Chain link offers security at a lower cost, ideal for active yards with children or pets. Understanding these options is crucial before measuring your space, acquiring permits (if needed), and beginning the installation process.
Measuring and Planning Your Fence Layout
Before digging in, taking accurate measurements is key to planning your fence layout. Start by identifying the perimeter you want to enclose and mark it with stakes or chalk to ensure precise boundaries. Consider factors like existing structures, trees, and utility lines that might impact your fence’s position.
Next, decide on the type of fence best suited for your needs and the layout of your property. Different styles, such as wooden pickets, vinyl, or chain-link, offer various benefits in terms of privacy, durability, and aesthetics. Sketch a rough plan incorporating these elements to visualize the final result and ensure it aligns with local regulations.
Preparing the Ground for Installation
Before installing your fence, preparing the ground is a crucial step. Start by clearing the area of any debris, plants, or rocks that might interfere with the process. This ensures a smooth and level surface for your fence posts to stand firmly on. Use a garden fork or shovel to loosen the soil along the perimeter where the fence will be erected, creating a base that’s ready for construction.
Consider marking out the fence line with string or stakes to visualize the layout. This helps in maintaining straightness and ensuring each post is positioned correctly. Remember, a solid foundation is key to a durable fence, so take your time to prepare the ground properly before moving on to the installation process.
Step-by-Step Guide to Post Setting
Setting posts is a crucial step in DIY fence installation, ensuring your fence line is straight and secure. Begin by marking out your desired fence line with chalk, then use a measuring tape to determine post spacing. Ideally, posts should be placed every 8 to 10 feet for most residential fences. Clear the ground at each post location, removing any grass, weeds, or debris. Dig holes for the posts using a post-hole digger, ensuring they are deep enough—typically around one-third of the post’s height. The depth should be checked against the manufacturer’s instructions for proper support. Place the posts in the holes and ensure they stand upright with a level. Fill the holes with concrete, allowing it to set completely before continuing with the fence construction.
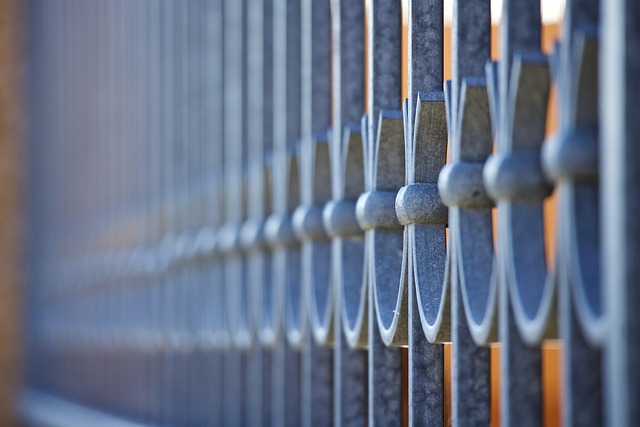
Attaching Railing and Panels: A Visual Walkthrough
Attaching railing and panels is a crucial step in DIY fence installation. Begin by ensuring your posts are securely anchored in the ground. Next, attach the bottom rails to the posts using galvanised screws or nails, creating a sturdy foundation for your fencing. Line up the rails evenly and measure gaps between them to determine where to place panel supports.
Once the rails are secured, it’s time to install the fence panels. Align the panels with the rails, then attach them using either brackets or nails, securing them firmly in place. Double-check connections at each post for a seamless, strong fence.
Final Touches and Maintenance Tips for Longevity
After completing the installation, it’s crucial to add the final touches and implement maintenance routines to ensure your fence lasts for years to come. Start by checking all connections and tightening any loose screws or pins. Apply a high-quality sealing agent to protect the posts and rails from moisture and rot, especially in New Bedford’s humid climate. Regular cleaning with a soft brush and mild detergent will remove dirt and debris, preventing buildup that could compromise the fence’s integrity. Inspect the fence periodically for signs of wear and tear, addressing any issues promptly to prevent minor problems from escalating. Keep an eye out for loose or damaged boards, rails, or fasteners, replacing them as necessary.