Installing a fence can enhance your New Bedford, Massachusetts property’s curb appeal and provide much-needed privacy. This guide is tailored for do-it-yourself enthusiasts seeking to navigate the process efficiently. We’ll walk you through understanding local regulations, selecting the ideal fence type for your space, gathering essential tools and materials, and providing a comprehensive step-by-step installation tutorial. By following these tips, you’ll be well on your way to creating a secure and aesthetically pleasing outdoor sanctuary.
- Understanding Your New Bedford Fence Regulations
- Choosing the Right Fence for Your Property
- Essential Tools and Materials for Installation
- Step-by-Step Guide to DIY Fence Installation
Understanding Your New Bedford Fence Regulations
Before you start planning your DIY fence installation, it’s crucial to understand New Bedford, Massachusetts’ local regulations and guidelines. Each town or city often has specific rules regarding property improvements, including fencing. These regulations cover various aspects, such as fence height, material types, and placement, ensuring they align with neighborhood aesthetics and safety standards.
Homeowners should check with the local building department or municipality to obtain permits and understand the permitted fence styles and materials in their area. Failure to comply with these regulations can result in fines or even the requirement to remove the fence. Taking the time to familiarize yourself with these guidelines will ensure a smoother DIY installation process, ensuring your new fence not only enhances your property but also adheres to local laws.
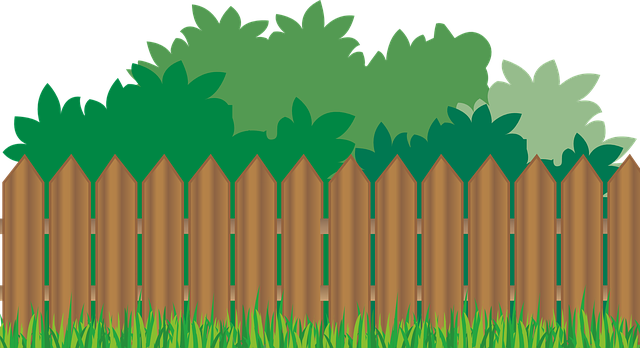
Choosing the Right Fence for Your Property
When selecting a fence for your New Bedford property, consider factors like privacy, aesthetics, and functionality. Each neighborhood has its unique character, so choose a style that complements your surroundings. For instance, a tall wood fence offers privacy while adding warmth to your yard, while a low metal or vinyl fence can create a clean, modern look and require less maintenance.
Think about the purpose of your new fence too. Do you want to keep pets in or out? A solid, tall fence is ideal for containing dogs, whereas a mesh fence may be more suitable if you need to see through while still providing some privacy. If security is a concern, opt for materials that are difficult to climb and consider adding additional security features.
Essential Tools and Materials for Installation
When it comes to DIY fence installation, having the right tools and materials is half the battle won. For New Bedford, Massachusetts homeowners taking on this project, a basic toolkit should include a measuring tape, a level, a post-hole digger or hand drill with an auger bit, wooden posts, fencing panels, concrete for setting the posts, a hammer, and a saw. Measuring tape is essential for accurate measurements, while the level ensures your fence is straight and true. The post-hole digger or hand drill facilitates digging holes for the posts, and the necessary hardware like concrete and fencing panels complete the picture.
Additionally, consider having a helper for safety and support, especially when lifting heavy materials and handling tools. Protection gear such as gloves and eye wear are also recommended. With these essentials on hand, you’re well-equipped to tackle your fence installation project with confidence and efficiency.
Step-by-Step Guide to DIY Fence Installation
Installing a fence yourself can be a rewarding project for any New Bedford, Massachusetts homeowner looking to enhance their property’s security and aesthetics. Here’s a straightforward step-by-step guide to help you navigate through the DIY fence installation process. Start by assessing your property line and obtaining any necessary permits from local authorities. Choose a suitable fence type based on your needs and climate considerations—wooden, vinyl, or chain link fences are popular choices in New Bedford. Measure and mark where each corner post should go, ensuring they align with your property line and support the desired fence height. Dig holes for the posts, making sure they’re deep enough to provide stability against shifting soil conditions. Set up the posts, leveling them carefully before backfilling the holes with concrete to secure them in place. Allow the concrete to cure thoroughly, then attach the fencing panels or rails according to manufacturer instructions, ensuring a strong and secure connection at each post.