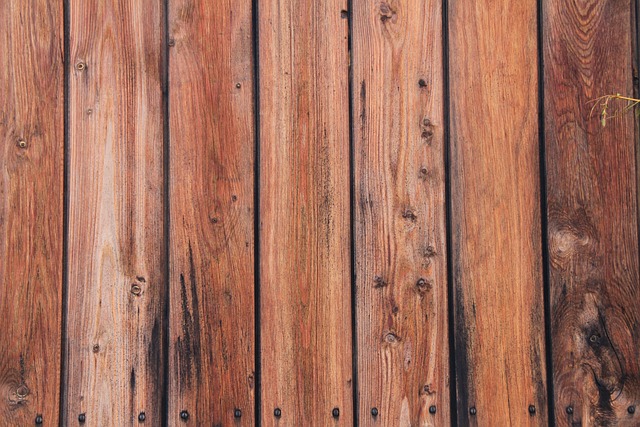
Introduction:
Protecting and enhancing your wooden fence is an investment that adds beauty and value to your property. Fence staining and sealing are essential steps in maintaining its aesthetics and longevity. This comprehensive guide delves into the art of fence staining, exploring benefits from increased durability to aesthetic transformations. We’ll navigate preparing your fence for treatment, selecting the perfect stain and sealer, and mastering application techniques to ensure long-lasting, vibrant results that safeguard your wooden barrier against the elements.
- Understanding Fence Staining: Benefits and Types
- Preparing Your Wooden Fence for Staining and Sealing
- Choosing the Right Stain and Sealer: A Comprehensive Guide
- Application Techniques and Tips for Long-Lasting Results
Understanding Fence Staining: Benefits and Types
Fence staining is more than just enhancing the aesthetic appeal of your wooden fence; it offers numerous practical benefits too. By applying a protective coat, stains safeguard wood against harsh weather conditions, UV radiation, and moisture, which can cause fading, cracking, and rot. Regular staining not only preserves the fence’s life but also ensures it retains its beauty and value.
There are various types of fence stains available in the market, each with unique characteristics. Water-based stains are eco-friendly and easy to clean, offering a transparent finish that highlights the natural grain of wood. Semigloss and glossy finishes provide better protection against stains but reduce visibility of the wood’s texture. Oil-based stains penetrate deeply into the wood, enhancing color and durability, making them ideal for environments with high humidity or heavy traffic.
Preparing Your Wooden Fence for Staining and Sealing
Before applying stain or sealer, proper preparation is key to achieving a long-lasting, high-quality finish on your wooden fence. Start by cleaning the fence thoroughly to remove any dirt, dust, or debris that could prevent the products from adhering correctly. Use a pressure washer or a bristled brush and mild detergent for this step. Ensure the wood is dry completely before proceeding.
Next, inspect the fence for any damaged or loose boards, splinters, or nails protruding from the surface. Repair these issues using appropriate materials to ensure a smooth base for staining. Filling in any gaps with caulk or sealing putty will also help create an even application area. By taking the time to prepare your wooden fence correctly, you’ll be setting the stage for a beautiful and protective finish.
Choosing the Right Stain and Sealer: A Comprehensive Guide
When it comes to enhancing your wooden fence, selecting the ideal stain and sealer is a crucial step in the process. The market offers a vast array of options, each catering to different wood types, climates, and personal aesthetic preferences. Firstly, consider the wood species you have; certain stains and sealers work best with specific types like cedar or pressure-treated lumber. Climate plays a role too; if you live in a humid area, a water-based sealer might be more suitable to prevent rot and mold growth.
Additionally, think about your desired outcome. Do you want to highlight the natural wood grain or create a more uniform look? Stains range from transparent to solid, with varying levels of color enhancement. Sealers, on the other hand, can provide a protective barrier that shields against elements while allowing some color penetration. Reading product descriptions and reviews will ensure you make an informed decision, leading to a beautifully stained and sealed wooden fence that lasts for years.
Application Techniques and Tips for Long-Lasting Results
When applying stain or sealer to your wooden fence, proper technique is key to achieving long-lasting results. Start by cleaning and preparing the fence surface thoroughly. Remove any dirt, debris, or old finish using a pressure washer or a mild detergent solution. Sanding can also help create a rough texture that enhances adhesion.
Choose the right tools for application – brushes, rollers, or sprayers – based on your fence’s size and the product you’re using. Ensure even coverage by overlapping strokes when brushing or rolling. For a more even and professional finish, consider spraying, but make sure to work in a well-ventilated area. Allow the stain or sealer to dry completely between coats for optimal protection and durability.
