Fence Staining and Sealing: A Comprehensive Guide to Revitalizing Your Wooden Fences
Enhancing the beauty and durability of your wooden fence starts with staining and sealing. This guide delves into the art of revitalizing your outdoor space, covering all essential aspects from understanding the benefits of fencing staining, choosing the perfect color and product for your wood type, to step-by-step application techniques that ensure even coverage. Learn the importance of sealing for protection and discover easy maintenance tips to extend the lifespan of your stunningly restored fence.
- Understanding Fence Staining: Benefits and Techniques
- Choosing the Right Stain: Color Options & Wood Types
- Preparation: Cleaning, Repairing, and Sanding Your Fence
- Applying the Stain: Step-by-Step Guide for Even Coverage
- Sealing for Protection: Importance and Best Practices
- Maintenance Tips: Extending the Lifespan of Your Stained Fence
Understanding Fence Staining: Benefits and Techniques
Understanding Fence Staining involves recognizing its numerous benefits, both aesthetic and protective. By applying stain to a wooden fence, you’re not just enhancing its visual appeal; you’re also shielding it from the elements. Stains penetrate the wood’s surface, creating a barrier that blocks UV rays, which can fade and weaken untreated wood. They also fill in pores and cracks, preventing water absorption and the subsequent rot or decay.
Techniques for fence staining vary based on personal preference and desired outcome. Some opt for a transparent stain, offering minimal color but maximum protection against the weather. Others prefer semi-transparent or solid colors for a more dramatic effect. Regardless of choice, proper preparation is key to lasting results. This includes cleaning the fence to remove dirt and mildew, repairing any damaged areas, and sanding for a smooth finish before application.
Choosing the Right Stain: Color Options & Wood Types
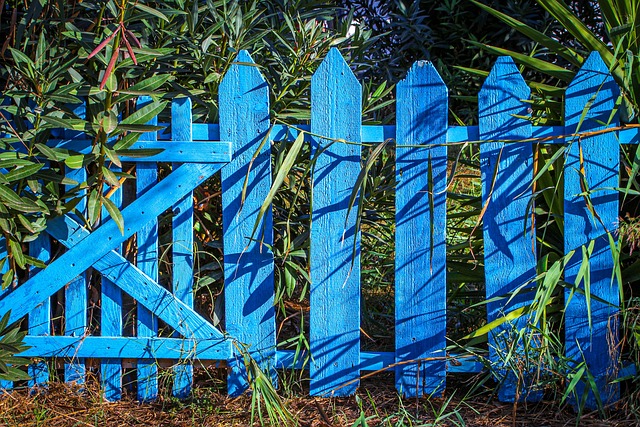
When choosing a fence stain, consider the color options available and how they complement your outdoor space. Fences can range from natural wood tones to bold, vibrant shades, each enhancing different types of wood. For example, redwood and cedar fences often showcase rich, warm hues that highlight their inherent beauty, while pressure-treated wood may benefit from a more diverse palette, including dark browns or even black stains for a dramatic effect.
Color selection should also account for the fence’s function and exposure. Areas with heavy foot traffic or constant sunlight may require stains designed to withstand these conditions. Water-based stains, for instance, offer excellent opacity and coverage while being environmentally friendly, whereas oil-based stains penetrate deeper into the wood, providing superior protection against rot and insects.
Preparation: Cleaning, Repairing, and Sanding Your Fence
Before applying any stain or sealer to your wooden fence, proper preparation is key. Start by thoroughly cleaning the fence using a pressure washer or a mild detergent and warm water solution. This removes dirt, grime, and any existing stains, ensuring a clean canvas for the new finish.
Inspect the fence for any damaged or rotten sections and repair as needed. Fill in holes with wood putty, sand smooth, and ensure all surfaces are even. Coarse-grit sandpaper is ideal for this process, helping to remove old paint or stain and create a rough texture that promotes better adhesion. A clean, repaired, and slightly abrasive surface will result in a longer-lasting and more effective final coat.
Applying the Stain: Step-by-Step Guide for Even Coverage
Applying the stain evenly is crucial for a professional finish. Start by stirring the container thoroughly to ensure the pigment is mixed uniformly throughout. Put on your protective gear, including gloves and a mask, as per the manufacturer’s instructions. Next, pour a small amount of stain into a clean bucket or tray. Dip your brush or roller into the stain, ensuring it’s completely coated. Begin painting at an angle, applying pressure to ensure complete coverage. Work in sections, overlapping each stroke slightly to avoid visible lines. For corners and tight spaces, use a smaller brush for precise application. Keep the tool you’re using damp with stain throughout the process to maintain even distribution.
Sealing for Protection: Importance and Best Practices
Sealing a wooden fence is an essential step to protect it from the elements, ensuring its longevity and preserving its aesthetic appeal. Wood is naturally susceptible to water damage, UV rays, and various environmental factors that can cause fading, cracking, and even structural deterioration over time. A good seal acts as a protective barrier, shielding the wood from these harmful influences.
When sealing your fence, opt for high-quality products designed specifically for outdoor use. Apply the sealants correctly by following manufacturer instructions, ensuring even coverage. Regular maintenance is key; reapply seals every few years or as recommended by the product to maintain optimal protection, especially in regions with extreme weather conditions.
Maintenance Tips: Extending the Lifespan of Your Stained Fence
Regular maintenance is key to keeping your stained fence looking its best for years to come. Start by cleaning the fence annually to remove any dirt, debris, or mildew buildup. Use a soft-bristled brush and a mild detergent solution, then rinse thoroughly with water. After cleaning, reapply a fresh coat of stain every 2-3 years to protect the wood from the elements. This will help prevent fading and peeling, ensuring your fence remains vibrant and well-protected.
Additionally, consider sealing your fence every few years to create an extra barrier against moisture and UV rays. Choose a high-quality sealer designed for outdoor use, and follow the manufacturer’s instructions for proper application. By incorporating these simple maintenance steps into your routine, you can significantly extend the lifespan of your stained fence, maintaining its beauty and structural integrity over time.