For New Bedford, Massachusetts homeowners considering a DIY fence installation, careful planning and the right tools are essential. This comprehensive guide walks you through every step—from obtaining necessary permits and measuring your yard to choosing durable materials suited for the local climate. We’ll equip you with the knowledge needed to dig post holes, install your fence, and provide maintenance tips ensuring longevity. By following these expert tips, you’ll have a beautiful, functional fence that enhances your property.
- Planning Your Fence Installation: Permits & Measurements
- Choosing the Right Fence Material for New Bedford Climate
- Tools & Equipment Essential for DIY Fence Project
- Step-by-Step Guide to Post Hole Digging & Placement
- Finishing Touches & Maintenance Tips for Longevity
Planning Your Fence Installation: Permits & Measurements
Before starting your DIY fence installation, careful planning is key. The first step involves checking with your local government to understand any necessary permits for installing a fence on your property in New Bedford, Massachusetts. These permits ensure compliance with zoning regulations and building codes, which can vary from town to town. Once you have the required permissions, take accurate measurements of the area where you plan to install the fence. Consider factors like the length and height of the fence, any gates or openings, and potential obstructions along the perimeter. Proper planning will not only save time but also ensure your fence is built according to safety standards and local regulations.
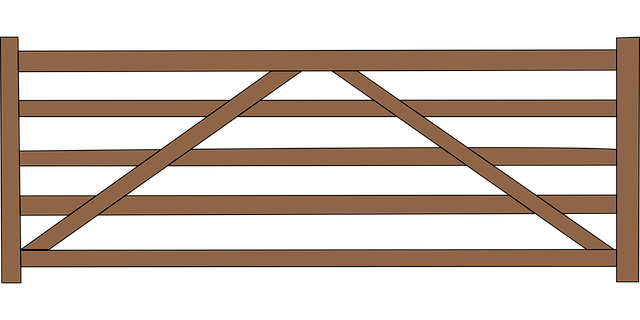
Choosing the Right Fence Material for New Bedford Climate
When considering fence installation in New Bedford, Massachusetts, selecting the appropriate material is key to ensuring durability and visual appeal that can withstand the region’s climate. The harsh New England winters and humid summers call for materials that are resistant to rot, rust, and extreme temperature fluctuations. Wood remains a popular choice due to its aesthetic value, but it requires regular maintenance to protect against water damage. Alternatively, vinyl fencing is low-maintenance, cost-effective, and can mimic the look of wood without the upkeep. Metal fences, particularly those made from aluminum or galvanized steel, offer excellent resistance to rot and corrosion, making them a durable option despite their higher initial cost.
Considering the local climate and personal preferences, homeowners can choose materials that not only complement their properties but also stand the test of time. Each material has its unique advantages and considerations, so understanding these factors will help guide the decision-making process for any New Bedford DIY fence installation project.
Tools & Equipment Essential for DIY Fence Project
When taking on a DIY fence installation project in New Bedford, Massachusetts, having the right tools and equipment is paramount to ensure a successful and efficient outcome. At a minimum, you’ll need hand tools such as a hammer, measuring tape, level, and post-hole digger for preparing the holes where your fence posts will go. A power drill with various bits is also highly recommended for driving stakes and securing fencing materials.
For more robust projects, consider investing in heavier-duty equipment like a compact tractor or rental jack to assist in lifting and positioning fence panels. Protection gear like work gloves, safety glasses, and ear protection should always be on hand as well. Lastly, don’t forget about the essential materials: posts, rails, fencing panels, concrete for setting posts, and any hardware required to connect everything securely.
Step-by-Step Guide to Post Hole Digging & Placement
To start your DIY fence installation, you’ll need to dig post holes that are deep and wide enough to support your fence posts. Begin by marking the locations where each post will go, ensuring they align with your fence design and local building codes. Using a post-hole digger or shovel, carefully dig holes at these marked spots. The depth of the hole should be at least one-third the height of the fence post, and the width should allow for stable placement of the post, typically around 8–10 inches (20–25 cm) wide.
Once the holes are dug, place a level in each to ensure they’re vertical. Then, insert your fence posts into the holes, ensuring they sit securely and vertically. Fill the holes with concrete, using a level to keep the posts straight. Allow the concrete to set completely before proceeding, as this will provide the necessary support for your new fence.
Finishing Touches & Maintenance Tips for Longevity
After completing the fence installation, it’s time to focus on the finishing touches and regular maintenance to ensure longevity. Add a coat of high-quality sealant or paint to protect the wood from the elements, especially if your fence is exposed to harsh sunlight or moisture. Regular cleaning with a soft brush and mild soap will help remove dirt and grime, preventing buildup that could weaken the fence over time. Inspect the fence periodically for any signs of damage, rot, or insect infestation, addressing issues promptly to avoid extensive repairs later on. Keeping the area around the fence clear of debris and vegetation will also promote better airflow, which is essential for maintaining the health of your new barrier.