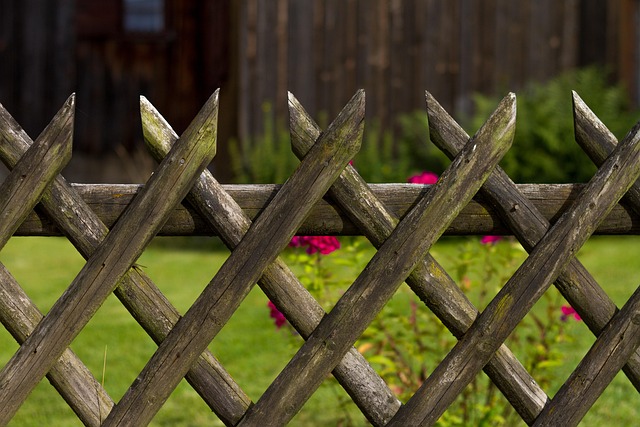
Fences serve as both functional and aesthetic elements in any outdoor space, and proper maintenance can ensure they look as good as new. This article guides you through the process of fence staining and sealing, crucial steps to protect and enhance your wooden fences. From understanding the benefits and various types of stains to choosing the right formula, preparing your fence, and applying the stain accurately, we cover it all. Finally, learn about sealing for long-lasting protection.
- Understanding Fence Staining: Benefits and Types
- Preparing Your Wooden Fence for Staining
- Choosing the Right Stain: Color and Formula
- Applying the Stain: Step-by-Step Guide
- Sealing for Protection: The Final Touch
Understanding Fence Staining: Benefits and Types
Fence staining is not just about enhancing the aesthetic appeal of your wooden fence; it offers multiple practical benefits as well. The primary function is to protect the wood from environmental factors like UV rays, rain, and snow, which can cause fading, cracking, and rot over time. By applying a stain, you create a barrier that shields the fence, prolonging its lifespan significantly. Moreover, staining allows for better adhesion of sealers, ensuring long-lasting protection.
There are various types of fence stains available in the market, each with distinct characteristics. Water-based stains are popular due to their low odor and quick drying time. They offer subtle color enhancement while still providing adequate protection. Oil-based stains, on the other hand, penetrate deep into the wood, enhancing its natural beauty and creating a more durable finish. Each type serves different purposes and caters to specific needs, making it essential to choose one that aligns with your desired outcome and the conditions of your wooden fence.
Preparing Your Wooden Fence for Staining
Preparing your wooden fence for staining is a crucial step to ensure the best results and longevity of the finish. Start by thoroughly cleaning the fence to remove any dirt, dust, or debris that might hinder adhesion. Use a pressure washer or a stiff-bristled brush and mild detergent to eliminate surface contaminants. Allow the fence to dry completely before proceeding.
Next, inspect your wooden fence for any repairs needed. Fill in any cracks or holes with a suitable wood filler, and sand the repaired areas smoothly. Check for loose or damaged boards and replace them if necessary. By addressing these preparation tasks, you’ll achieve a more even stain application and create a protective barrier that guards against the elements, extending the life of your fence’s new look.
Choosing the Right Stain: Color and Formula
When it comes to enhancing your wooden fence, selecting the perfect stain is a crucial step. The right choice will not only match your aesthetic preferences but also provide protection against the elements. Consider the color you desire; do you want to embrace a natural wood tone or transform it into a vibrant new hue? Dark browns and rich reds offer excellent protection while adding depth, whereas lighter shades can give a more subtle finish.
Formulas vary, with some stains offering water-based options that are odorless and faster-drying, ideal for quick projects. Oil-based stains, though taking longer to dry, provide deeper penetration and richer colors. It’s essential to choose a formula suitable for outdoor use and ensure it is compatible with your fence material to achieve the best results.
Applying the Stain: Step-by-Step Guide
Applying the Stain: A Step-by-Step Guide
1. Prepare the Fence: Before applying any stain, ensure your wooden fence is clean and free from dirt, dust, or debris. Power wash if necessary, allowing it to dry completely. Fill any cracks or holes with a wood filler, then sand until smooth. This creates a rough surface that helps the stain adhere better.
2. Choose Your Stain: Select a fence stain that suits your desired look and protection level. Water-based stains are easier to apply and emit fewer fumes, while oil-based stains offer deeper colors and stronger protection. Follow the manufacturer’s instructions for mixing and stirring before use.
3. Protect Nearby Areas: Cover nearby plants, walkways, and surfaces with drop cloths or plastic sheeting. Use tape to secure edges, especially if staining on an overcast day to avoid sunlight interference.
4. Stir and Pour: Thoroughly stir the stain using a paint stirrer or similar tool. Pour a small amount into a suitable container, like a paint tray, leaving the rest of the can sealed.
5. Apply with a Brush or Roller: Dip your brush or roller into the stained mixture and start applying it to your fence in even strokes. Maintain a consistent speed and pressure for uniform coverage. For hard-to-reach areas, use a small brush or paint pen.
6. Work in Sections: Divide your fence into manageable sections, staining one section at a time. Allow the first coat to dry according to the product’s instructions before adding additional coats for deeper color or enhanced protection.
Sealing for Protection: The Final Touch
Sealing is the final touch when it comes to fence staining and can provide an extra layer of protection for your wooden fence. It creates a barrier between the wood and the elements, preventing moisture and UV rays from penetrating and causing damage over time. This step is especially important in regions with harsh climates or frequent rainfall.
By sealing your fence, you’re not just enhancing its aesthetic appeal but also extending its lifespan. A good seal can ward off rot, mold, and mildew, which are common issues for outdoor wooden structures. It ensures that your fence remains sturdy and attractive for years to come, requiring less frequent repairs and replacements.
