In New Bedford, Massachusetts, installing a fence is not just about enhancing your property’s aesthetics; it’s a strategic decision that requires careful planning. This article guides New Bedford homeowners through the DIY fence installation process, from obtaining necessary permits to selecting climate-resilient materials, step-by-step instructions for construction, and crucial maintenance tips. By following these expert recommendations, you’ll ensure a secure, beautiful, and long-lasting fence for your property.
- Planning Your Fence: Permits and Measurements
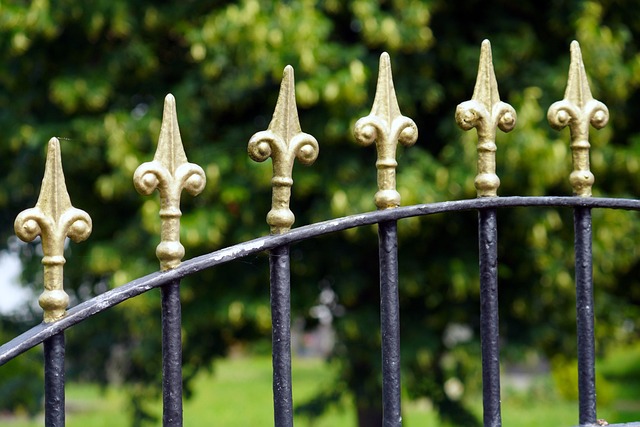
- Choosing the Right Material for Your New Bedford Climate
- Step-by-Step Guide: Installing Your Fence
- Tips for Maintenance and Safety Considerations
Planning Your Fence: Permits and Measurements
Before beginning your DIY fence installation project, careful planning is crucial. The first step involves obtaining any necessary permits from your local New Bedford authorities, as different areas have varying regulations regarding fence construction. Check with your city hall or building department to understand the requirements and apply for a permit if needed. This process ensures your project complies with local laws and avoids potential fines.
Additionally, accurate measurements are essential. Take time to survey the area where you intend to install the fence. Measure the perimeter and decide on the style and height of your fence. Consider factors like property lines, existing structures, and desired aesthetics to ensure your fence not only meets practical needs but also enhances your New Bedford home’s curb appeal.
Choosing the Right Material for Your New Bedford Climate
When it comes to DIY fence installation, selecting the appropriate material is a crucial step, especially considering the unique climate conditions in New Bedford, Massachusetts. The region’s seasonal variations, including harsh winters and humid summers, require fencing solutions that can withstand these challenges. Homeowners should opt for durable materials like treated wood or vinyl, which offer superior resistance to rot, mold, and pests prevalent in such environments.
For a long-lasting fence, consider the local weather patterns. Treated pine is a popular choice due to its affordability and natural resistance to decay. Alternatively, vinyl fencing is an excellent option for those seeking low maintenance; it’s resistant to cracking, fading, and warping, ensuring your fence remains in top condition through all seasons.
Step-by-Step Guide: Installing Your Fence
Step-by-Step Guide: Installing Your Fence
1. Measure and Mark: Start by measuring the perimeter of your yard to determine the length of fencing needed. Use a tape measure for accuracy. Mark the spots where posts will go using stakes and string to ensure a straight line.
2. Prepare the Ground: Dig holes for the fence posts, ensuring they’re deep enough (at least one-third the height of the post) to provide stability. Make sure the ground is level and compacted to support the weight of the fence.
Tips for Maintenance and Safety Considerations
After installing your new fence, regular maintenance is key to keeping it looking its best and ensuring longevity. Start by inspecting the fence regularly for any signs of damage or wear. Treat wooden posts and rails with a waterproof sealer every few years to protect against rot and decay, especially in New Bedford’s humid climate. Keep the area around the fence clear of debris and overgrown vegetation, as this can attract pests and promote wood rot.
Safety should always be a priority when working with or around fences. Ensure proper footing and handrails on any elevated sections for added stability and to prevent accidents. Keep tools and hardware stored securely out of reach of children and pets. Regularly check the fence for loose or broken components, replacing them promptly to avoid trip hazards and ensure the safety of those who pass through the area.