Introduction
Maintaining your wooden fence is not just about aesthetics; it’s a crucial step in prolonging its lifespan and protecting it from the elements. This article guides you through the process of fence staining and sealing, starting with understanding the benefits and types of stains available. We’ll delve into preparing your fence for treatment, selecting the right products, and providing a comprehensive step-by-step guide to ensure your wooden fence stays vibrant and durable.
- Understanding Fence Staining: Benefits and Types
- Preparing Your Wooden Fence for Staining and Sealing
- Choosing the Right Stain and Sealer
- Step-by-Step Guide to Effective Fencing Maintenance
Understanding Fence Staining: Benefits and Types
Preparing Your Wooden Fence for Staining and Sealing
Before applying stain or sealant, it’s crucial to prepare your wooden fence thoroughly. This involves several steps to ensure optimal results. Start by cleaning the fence to remove any dirt, debris, or mildew using a pressure washer or a stiff-bristled brush and soap solution. Then, sand any rough spots or splinters to create a smooth surface that allows the stain to adhere better. It’s important to use fine-grit sandpaper to avoid damaging the wood.
Additionally, you should repair any damaged areas by patching holes or cracks with wood putty and allowing it to dry completely. Once the fence is clean, dry, and smooth, check for splinters or rough edges and take care of them. This meticulous preparation ensures that your fence not only looks its best after staining and sealing but also lasts longer, maintaining its beauty and protection against elements over time.
Choosing the Right Stain and Sealer
When it comes to fence staining and sealing, selecting the appropriate products is a crucial step. The right stain will enhance the wood’s natural beauty while providing protection against elements like UV rays, moisture, and extreme temperatures. Look for stains with UV inhibitors, which ensure the color stays vibrant for longer periods. Consider your fence’s specific needs; some stains offer better fade resistance or concealment of existing stains.
Choosing a sealer is equally important. Water-based sealers are popular due to their low odor and quick drying time. They provide a protective barrier, blocking out moisture and dirt. Oil-based sealers, on the other hand, offer superior durability and protection against harsh weather conditions but may take longer to dry and have a stronger odor. Select based on your climate, the fence’s exposure to elements, and personal preference for odor and application ease.
Step-by-Step Guide to Effective Fencing Maintenance
Maintaining your wooden fence is an easy, cost-effective way to ensure it lasts for years to come. Here’s a step-by-step guide:
1. Clean the Fence: Start by pressure washing your fence to remove any dirt, mold, or mildew buildup. This ensures that any stains you apply will adhere properly. Let the fence dry completely before proceeding.
2. Repair and Sand: Inspect your fence for any damaged or rot-prone areas. Repair these using a wood filler or replacement boards. Once repaired, lightly sand the entire fence surface to create a smooth texture for better stain absorption.
3. Apply Primer (if needed): For best results, particularly on older fences or those with a history of stains, use a wood primer. This will help the stain adhere and last longer. Follow the manufacturer’s instructions for application.
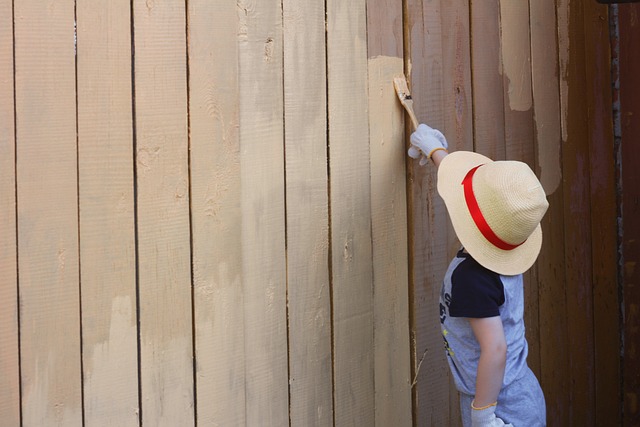
4. Stain the Fence: Choose a high-quality fence stain that suits your desired color and protection level. Apply the stain evenly using a brush, roller, or sprayer. Ensure even coverage to prevent streaking.
5. Seal the Fence: After allowing the stain to dry according to the manufacturer’s instructions, apply a sealant to protect the wood from the elements. This step further enhances durability and prevents premature fading or rot.