New Bedford, Massachusetts homeowners looking to install a fence have a variety of options and considerations. Before diving into the process, assess your property for optimal fence placement, taking note of existing structures, landscaping, and local regulations. Choosing the right fence type—wood, vinyl, or metal—and material is crucial based on aesthetics and budget. Planning your layout, digging holes for solid post placement, assembling panels, and securing finishes are essential steps for a successful DIY fence installation.
- Assessing Your New Bedford Property for Fence Installation
- Choosing the Right Fence Type and Material for Your Yard
- Measuring and Planning Your Fence Layout Step-by-Step
- Digging Holes: Essential Techniques for Solid Post Placement
- Assembling and Attaching Your Fence Panels with Ease
- Final Touches: Securing and Finishing Your DIY Fence
Assessing Your New Bedford Property for Fence Installation
Before installing a fence, it’s crucial to assess your New Bedford property. Take a walk around your yard and identify factors that can impact installation, such as existing structures, trees, and utility lines. These elements could affect the layout, height, and materials of your fence.
Use this opportunity to consider your privacy needs, desired aesthetics, and budget. Mark potential fence lines with string or flags to visualize different designs. By thoroughly evaluating your property, you’ll be better equipped to make informed decisions that align with both functionality and style for your new fence.
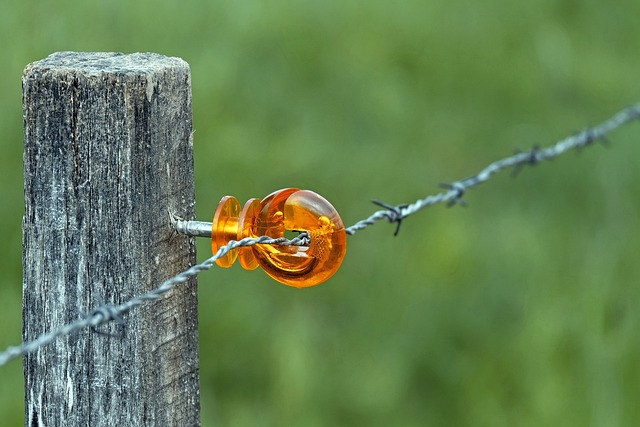
Choosing the Right Fence Type and Material for Your Yard
When considering DIY fence installation, selecting the appropriate fence type and material is a crucial step. For New Bedford homeowners, climate and local aesthetics play significant roles in this decision. One popular choice is wood fences, which offer a classic look and are relatively low-maintenance. However, ensure you opt for weather-resistant varieties like cedar or treated pine to protect against rot and insect damage.
Alternatively, vinyl fences are durable and require little upkeep. They come in various styles and colors, easily accommodating different yard designs. Concrete or brick fences provide a more robust and timeless option but demand more labor and material costs. Consider your climate, budget, and desired aesthetic when making this choice to ensure the best fit for your New Bedford yard.
Measuring and Planning Your Fence Layout Step-by-Step
Before breaking ground on your DIY fence installation, meticulous planning is key to ensure a successful project. Start by identifying the perimeter of the area where you want the fence to be installed. Using measuring tape, trace along property lines and mark any obstacles like trees or existing structures that may affect the layout. Next, decide on the type of fence best suited for your needs and local regulations. Common options include wood, vinyl, or chain-link fences, each with unique installation considerations.
Once you’ve chosen your fence style, create a detailed layout plan. Consider the fence’s height and length, as well as the placement of any gates or openings. Use stakes and string to visually outline the fence line, ensuring it aligns with your measurements and property boundaries. This step-by-step planning process will save you time, effort, and potential headaches during installation, guaranteeing a neat and orderly fence setup.
Digging Holes: Essential Techniques for Solid Post Placement
When installing a fence, proper hole digging techniques are crucial for ensuring solid post placement. Start by marking the fence line and identifying the location of each post. Use a string level to ensure accuracy. Next, determine the depth requirements based on your local building codes and the type of fence you’re installing. Typically, holes should be about one-third deeper than the post’s length.
Equipped with this knowledge, use a mechanical post-hole digger or shovel to create the holes. Ensure they are deep enough, backfill them with high-quality gravel mixed with concrete, and tap the posts into place to achieve maximum stability. Proper hole digging is a fundamental step that will directly impact your fence’s longevity and structural integrity.
Assembling and Attaching Your Fence Panels with Ease
When installing your fence panels, assembling them correctly is half the battle won. Start by laying out all the panels on the ground, ensuring they’re in the desired pattern and alignment. Use this opportunity to double-check measurements and make adjustments if needed. Once satisfied with the layout, begin assembling each panel using the provided hardware. Most panels come with pre-drilled holes for easy attachment. Line up the brackets or posts with these holes and secure them tightly using a power drill.
After each panel is assembled, attach it to the fence posts or existing fencing using the same hardware. This process involves sliding the panels into place and securing them firmly. Ensure that all panels are level and properly aligned for a seamless fit. Regularly double-check your progress as you work to maintain accuracy throughout the installation process.
Final Touches: Securing and Finishing Your DIY Fence
Once your fence is assembled and all posts are securely in place, it’s time for the final touches. Start by tightening any loose screws or bolts on the gate and latch mechanism to ensure smooth operation. Check each panel for stability and make any necessary adjustments. If you’ve chosen to add a decorative top rail or cap, secure it now, using suitable fasteners to prevent future movement. This finishing step not only enhances the overall look but also reinforces the fence’s structural integrity.
Don’t underestimate the power of a good finish. Apply a layer of high-quality exterior paint or stain to protect your fence from the elements and UV damage. Choose a color that complements your home’s exterior, ensuring longevity and maintaining that fresh, newly installed appearance for years to come.