DIY Fence Installation Tips for New Bedford Homeowners
If you’re a New Bedford, Massachusetts homeowner looking to enhance your outdoor space, installing a fence is a significant project that can both increase your property’s value and provide practical benefits. This guide breaks down the DIY fence installation process step-by-step, from understanding your fence options specific to New Bedford homes, to measuring and planning, preparing the ground, assembling panels, securing posts, and final touches. By following these tips, you’ll ensure a durable and aesthetically pleasing fence that complements your property.
- Understanding Your Fence Options for New Bedford Homes
- Measuring and Planning Your Fence Layout
- Preparing the Ground for Installation
- Assembling and Attaching Your Fence Panels
- Securing Posts and Braces for Durability
- Final Touches and Maintenance Tips
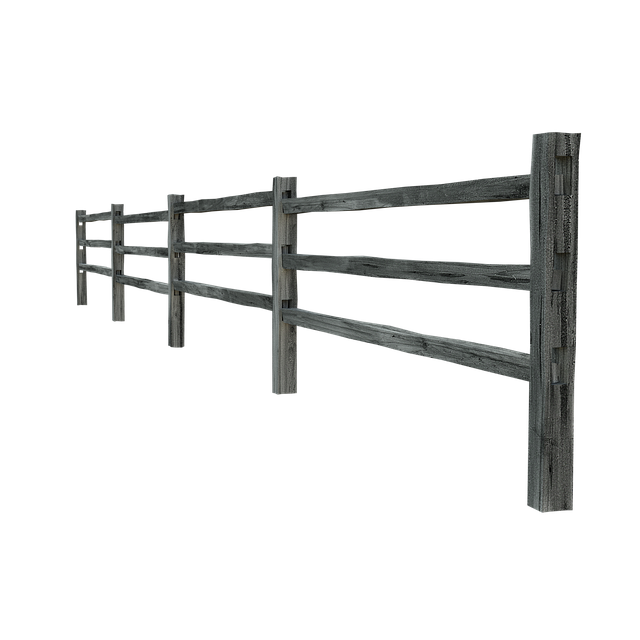
Understanding Your Fence Options for New Bedford Homes
When it comes to fencing your New Bedford, Massachusetts home, there’s a vast array of options to consider. From traditional wood and vinyl to more contemporary metal and chain-link, each material offers unique benefits and drawbacks in terms of durability, maintenance, aesthetics, and cost. Understanding these variations is key to making an informed decision that aligns with both your practical needs and personal preferences.
Researching local building codes and regulations regarding fence installation is also crucial for ensuring compliance and avoiding any legal issues. New Bedford, like many towns, has specific guidelines on height restrictions, materials permitted, and distance from property lines, so it’s essential to check with the relevant authorities before breaking ground. This step will not only safeguard you from potential fines but also help guide your choice of fence design and material.
Measuring and Planning Your Fence Layout
Before you start digging, measuring your yard and planning the layout of your fence is crucial. Start by identifying the perimeter of your property to determine where the fence should begin and end. Use measuring tape to take accurate readings, ensuring you mark out any existing structures, trees, or other obstacles that could impact the fence’s placement. It’s also important to consider the type of fence you want – whether it’s a traditional wooden picket fence, a sturdy vinyl barrier, or something more unique – as this will influence both the layout and the materials required.
Once you have your measurements, create a simple plan or sketch of your yard, marking out where the fence will go. This visual representation will help you envision the final product and ensure the fence fits harmoniously with your landscape. Plus, it’s a great way to identify any potential issues before they become costly mistakes!
Preparing the Ground for Installation
Before installing your fence, preparing the ground is a crucial step. Clear the area of any debris, plants, or rocks to ensure a smooth and level surface. Digging a shallow trench along the intended fence line helps in setting the posts correctly. This process provides stability and ensures your fence stands tall over time.
Compacting the soil within the trench is essential for a solid foundation. Use a plate compactor or, if one isn’t available, a heavy roller to pack down the soil firmly. This step creates a sturdy base that will support the weight of the fence posts and panels, especially in New Bedford’s varying climate conditions.
Assembling and Attaching Your Fence Panels
When assembling your fence panels, ensure each piece is securely connected to create a sturdy framework. Start by following the manufacturer’s instructions for proper alignment and fastening. Use high-quality fasteners like screws or nails, driving them firmly but carefully to avoid damage. For added strength, consider using bracket supports at strategic points along the panel’s perimeter.
Once your panels are assembled, attach them to the fence posts using brackets or other recommended hardware. Position the panels level and align them evenly with the ground. Secure each panel tightly, checking again for stability and even spacing between posts. This step ensures your fence not only looks neat but also stands strong against potential wind or weather damage.
Securing Posts and Braces for Durability
When installing a fence, ensuring durability is paramount. One crucial step is securing fence posts and braces correctly. Begin by digging holes that are deep enough to accommodate at least one-third of the post’s height. This foundation is essential for stability. Place a concrete mixture in each hole, allowing it to set firmly before proceeding.
For added support, use metal braces between the posts. These braces should be securely fastened with galvanized screws or nails. By doing so, you create an inflexible framework that can withstand environmental factors like wind and heavy rainfall, ensuring your fence remains sturdy for years to come.
Final Touches and Maintenance Tips
Once your fence is fully installed, take some time to inspect it thoroughly. Check for any loose boards or nails, ensuring everything is securely fastened. Apply a fresh coat of paint or sealant if needed to protect your fence from the elements. Regular maintenance will ensure your fence remains in good condition for years to come. This includes periodic cleaning, re-staining or painting as required, and keeping an eye out for any signs of rot or damage. Consider setting up a regular schedule for these tasks to maintain the fence’s aesthetic appeal and structural integrity.